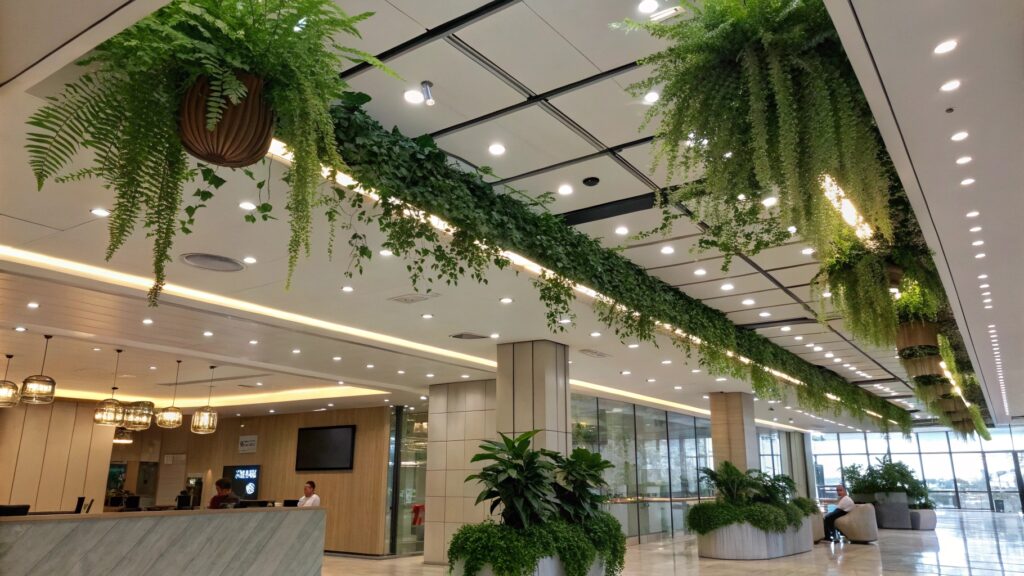
Ceiling decor with artificial plants is a rising trend, bringing nature-inspired beauty to any space. Faux vines offer a versatile, low-maintenance way to elevate design, adding charm and elegance. Whether aiming for a modern or bohemian look, this guide simplifies the process, ensuring a hassle-free, striking ceiling display.
– Why Use Fake Vines on Ceilings?
Artificial vines on ceilings do more than just add greenery to a room—they redefine how vertical space is used in both home and business decor. Most designers and experts focus on floor space, but ceiling-mounted faux plants create an immersive, dynamic environment. Ceiling decor offers a way to captivate customers without crowding floors or walls. It encourages upward eye movement, making rooms appear larger and more open.
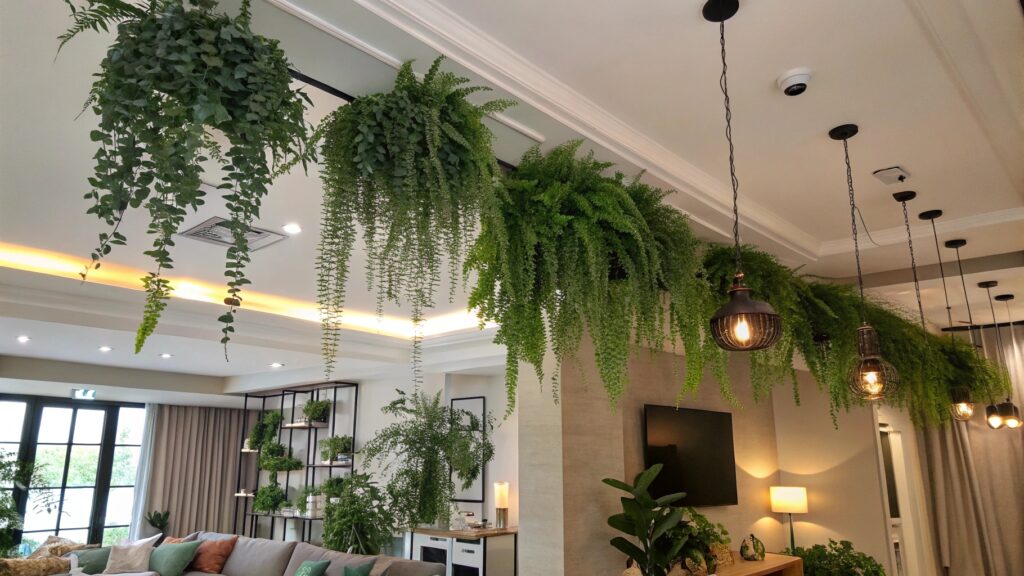
Moreover, faux vines provide an unconventional solution for addressing acoustics, a benefit often overlooked. By dispersing sound waves, they can reduce noise pollution in larger spaces like offices or commercial properties, creating a more comfortable atmosphere. They can also discreetly cover ceiling imperfections, offering an inexpensive alternative to extensive ceiling repairs.

– Benefits of Ceiling-Mounted Faux Vines for Home and Business Decor
The versatility of ceiling-mounted faux plants goes beyond their aesthetic value. They bring a range of benefits to both residential and commercial spaces:

In business settings, faux vines can also enhance the overall customer experience by adding a biophilic touch that soothes and energizes. At home, they contribute to an effortlessly styled, tranquil environment, blending aesthetics with function.
– Choosing the Right Fake Vines
Selecting the right artificial vines for ceiling decor involves more than just choosing an attractive style. To ensure long-term value and safety, several key factors must be considered that are often overlooked in the industry.
1. Durability and Aesthetic Quality
Not all faux vines are created equal. Opt for vines made from high-quality materials such as silk, polyethylene, or PVC to ensure they maintain their shape and color over time. A common but overlooked consideration is the leaf texture—vines with varied shades and intricate detailing can closely mimic real plants, enhancing the visual appeal. Ensuring durability means avoiding cheaper options that tend to fray or discolor.
2. Fire Retardancy and Safety Considerations
When using artificial vines indoors, especially in commercial spaces, fire safety is critical. Many faux vines can be treated with fire retardants to meet safety regulations. Always verify the fire-retardant certification of the product, particularly if the vines will be installed near lighting or electrical systems.
3. UV Resistance for Long-Lasting Appearance
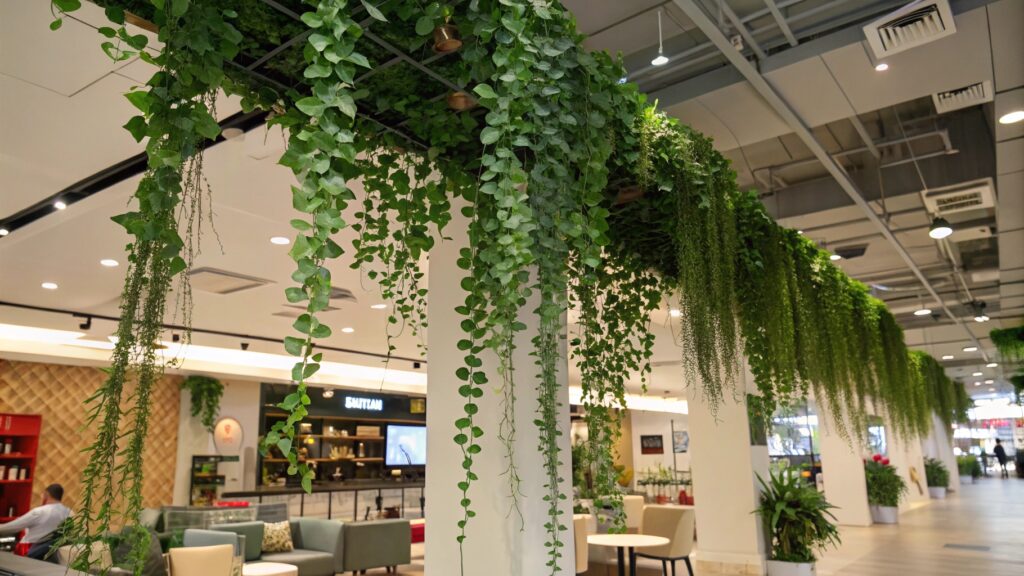
Even indoors, UV exposure from windows can cause colors to fade. Opt for UV-resistant vines that retain their vibrancy over time, particularly in well-lit spaces. For outdoor installations, this is an essential consideration as non-UV-protected materials will degrade in sunlight, reducing the overall lifespan of the vines.
4. Type of Fake Vine
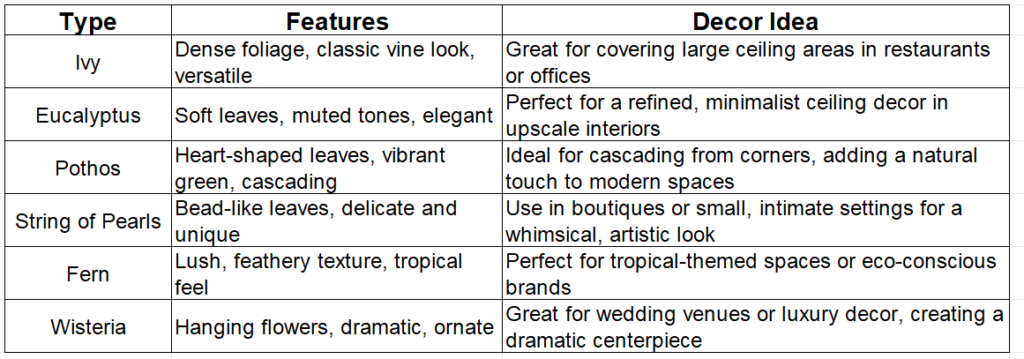
Different vine types suit different aesthetics and functional needs. For example, ivy and eucalyptus provide a denser, fuller look, while string-of-pearls or pothos vines offer a more minimal, cascading effect. Some vines, such as those with added floral elements, can provide a more ornate, luxurious feel, perfect for spaces that need an extra touch of sophistication. Choose based on the desired impact—whether you want a subtle backdrop or a bold statement.
– Tools and Planning for a Seamless Faux Vines Installation
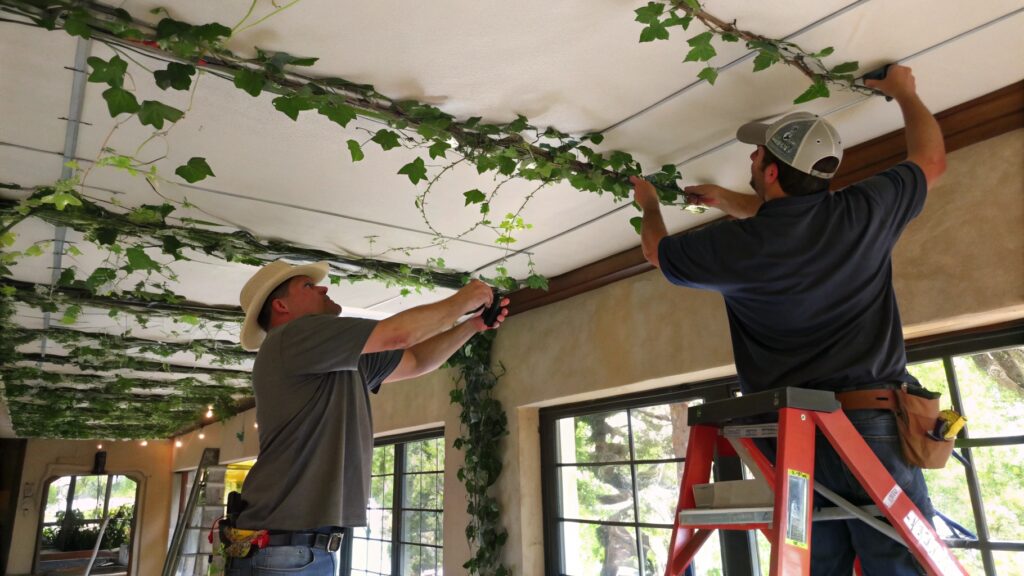
Installing faux vines on ceilings requires careful planning and the right tools to ensure a secure and aesthetically pleasing outcome. Many experts overlook the importance of considering ceiling materials and weight distribution, which are crucial for long-lasting installations.
1. Essential Tools Required
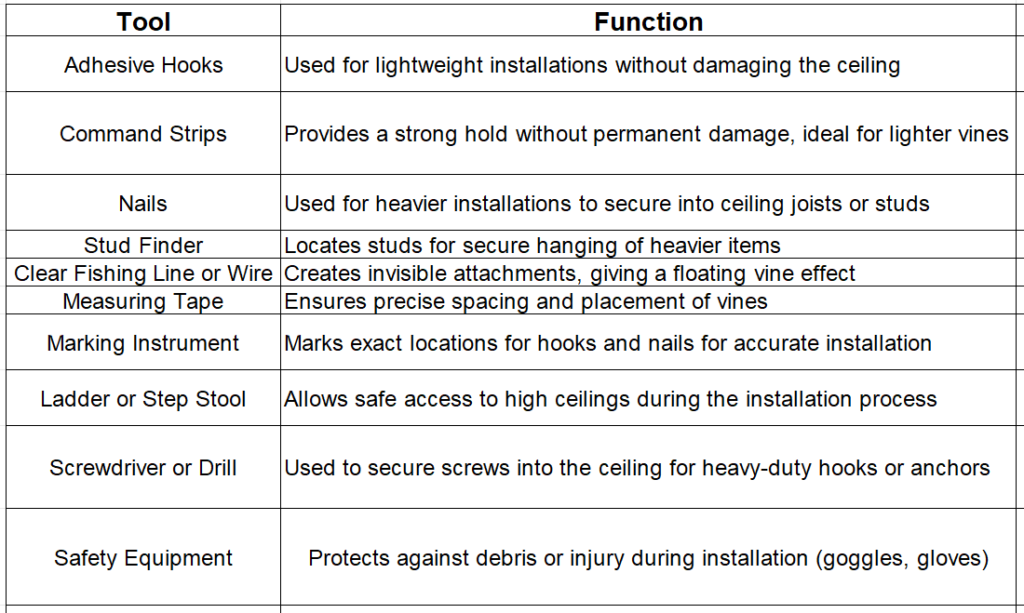
To begin, gather the necessary tools: adhesive hooks, command strips, nails, a stud finder, clear fishing line or wire, and a sturdy ladder. Clear fishing line is especially useful for making the attachments nearly invisible, giving the vines a floating effect. Many installation failures happen due to inadequate fasteners, so ensure the hooks or nails used are compatible with the weight and material of your ceiling.
2. Planning Vine Placement: Symmetry, Coverage, and Style
Deciding on vine placement is critical to the final look. For commercial spaces, symmetrical placements often appeal to modern designs, creating a structured, clean appearance. On the other hand, asymmetry offers a more organic, relaxed vibe, making it ideal for bohemian or nature-inspired decor. Consider the vine density and how much ceiling space you want to cover—overcrowding can overwhelm the room, while sparse placement can feel underwhelming.

3. Considering Ceiling Material and Weight Capacity
The ceiling type—whether it’s plaster, drywall, or a suspended ceiling—impacts your choice of fasteners. Heavier vines or additional decor elements like string lights may require stronger hooks or screws. It’s vital to calculate the weight of both the vines and the fasteners to avoid sagging or eventual collapse. Always distribute the weight evenly to prevent overloading one section of the ceiling.
4. Ceiling Preparation:
Before diving into the installation of artificial vines, it’s crucial to properly assess and prepare your ceiling. The condition of the ceiling plays a fundamental role in both the stability and the overall appearance of the installation. Here’s a step-by-step guide for ensuring your ceiling is ready for the process:

– Step-by-Step Artificial Vines Installation Process
Installing faux vines on your ceiling requires precision and creativity. By following these key steps, you’ll ensure a sturdy, visually appealing installation that enhances your space.
1. Measure and Plan the Layout
Start by carefully measuring your ceiling to determine where the vines will be placed. Think of the ceiling as a blank canvas. Use a tape measure and pencil or chalk to make evenly spaced marks every 12 inches, creating a well-balanced framework for hanging. This ensures the vines will be spaced consistently, giving the final result a polished, professional appearance.
2. Choose the Best Attachment Points
Strategically pick the attachment points based on the weight and type of vines you are using. For lighter vines, adhesive hooks spaced every 2 to 3 feet are sufficient. Heavier, decorative vines will need support every 1 to 2 feet, preferably anchored into ceiling beams for added safety. If unsure about the ceiling’s load capacity, it’s wise to check blueprints or consult a professional before proceeding.
3. Proper Hanging Techniques for Stability
Use the marks you made earlier as a guide to attach the vines. For heavier decor, hooks or nails anchored into studs provide the best support. Adhesive hooks or command strips are ideal for lighter vines and offer a simpler installation. Make sure each vine is distributed evenly to avoid overloading a single point. This ensures a visually pleasing arrangement while preventing sagging.
4. Creative Draping and Layering for a Natural Look
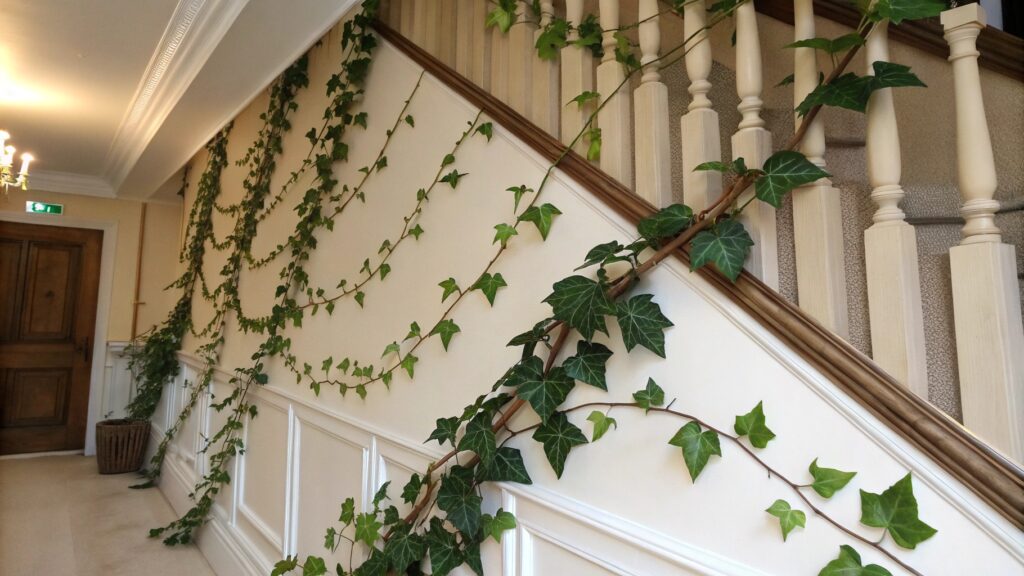
Achieve a natural look by varying the draping of the vines. Allow some vines to hang loosely while keeping others taut to mimic the organic growth patterns of real plants. Layer different vine types, such as ivy and pothos, to create depth and texture. You can also experiment with patterns—arrange vines in grid-like formations for a structured look or let them intertwine naturally for a more relaxed, artistic effect.
5. Add Lighting for Extra Ambiance
For added ambiance, consider weaving LED string lights into the vines. Opt for warm white lights to create a cozy, energy-efficient atmosphere. Secure the lights using hooks designed for electrical cords, making sure the electrical connections are safe and secure. Avoid overloading outlets and use surge protectors to ensure the lighting remains functional and safe.
– Advanced Installation Fake Vines Tips and Tricks
After setting up your ceiling-mounted artificial vines, there are some advanced techniques you can use to ensure long-lasting stability and a polished, professional appearance.
1. Preventing Sagging Over Time
One common issue with artificial hanging basket is sagging, which can ruin the overall look of the installation. To prevent this, use additional support in key areas. For longer vine strands, secure them at multiple points using clear fishing line or thin wire. This technique helps distribute the weight evenly and keeps the vines taut without being overly visible.
Another effective approach is to use a combination of hooks and nails, ensuring that the main attachment points bear the bulk of the weight while secondary supports keep the vines in place over time. Regularly inspect the fasteners, especially if the vines are heavy, to ensure they haven’t loosened over time due to gravity or temperature changes.
2. Hiding Hooks and Anchors for a Professional Finish
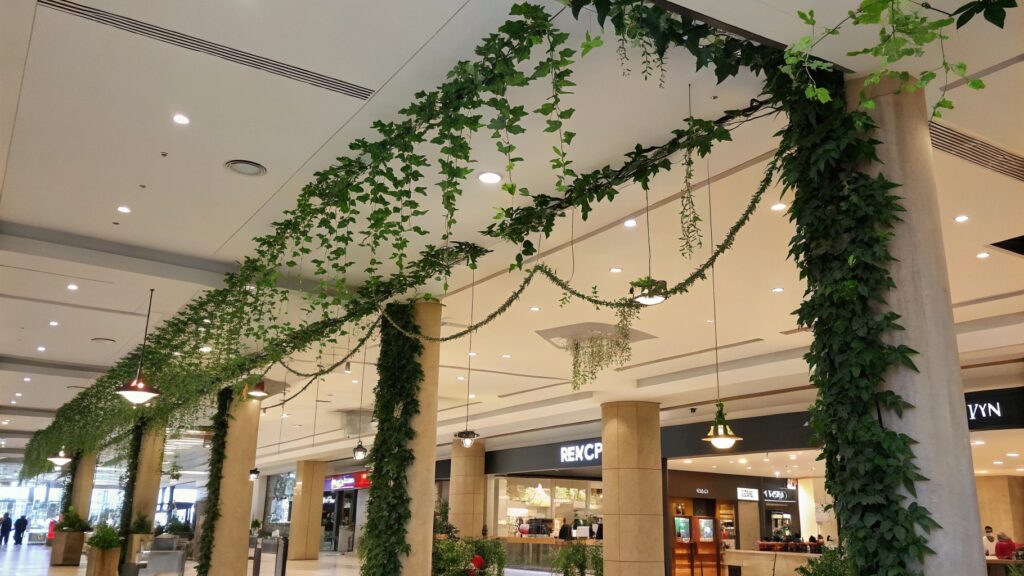
To give your installation a seamless, clean look, it’s important to hide the hooks and anchors used to secure the vines. One way to do this is by positioning the vines so that their leaves and tendrils naturally cover the fasteners. Clear or transparent hooks can also be a great solution as they are less noticeable against the ceiling.
For a more polished effect, try painting the hooks or anchors the same color as your ceiling, blending them in. Another option is to use clear adhesive strips, which are practically invisible once applied. These subtle methods ensure that the installation looks natural, enhancing the aesthetic appeal without exposing the underlying support structures.
– Maintenance and Longevity of Fake Vines
Maintaining your ceiling-mounted artificial vines is essential for ensuring they retain their beauty and remain securely installed over time. Below are some key tips for cleaning and preserving the longevity of your faux vines.
1. How to Clean Fake Vines Without Damaging Them
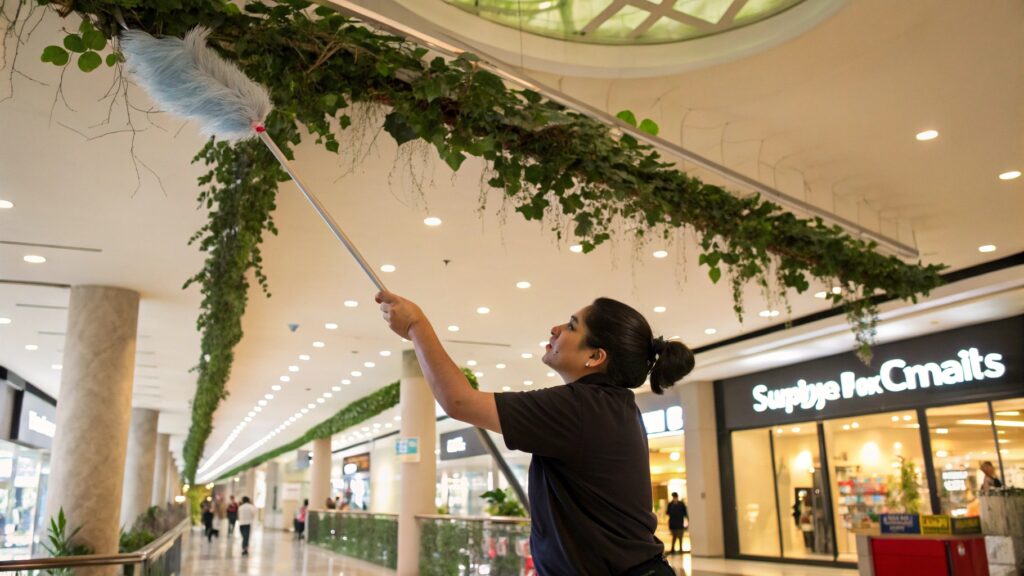
Over time, artificial vines can accumulate dust, which dulls their vibrant appearance. To clean them without causing damage, use a microfiber cloth or a feather duster to gently remove surface dust.
For more thorough cleaning, dampen a cloth with a mixture of water and mild soap, carefully wiping each leaf. Avoid using harsh chemicals, as they can degrade the material and lead to discoloration. For high ceilings, use an extended duster or a vacuum with a soft brush attachment to reach vines safely.
2. Preventing Dust Accumulation
To minimize dust buildup, consider spraying the vines with a dust-repellent solution. A light mist of water mixed with fabric softener can also help repel dust, keeping the vines looking fresh for longer. Positioning the vines away from air vents or areas with frequent airflow will also reduce the amount of dust that accumulates on them.
3. Regular Inspections to Maintain Their Position and Condition
It’s important to perform routine inspections to ensure the vines remain securely fastened. Check hooks, adhesive strips, or nails every few months to confirm they haven’t loosened over time. If any parts of the vine seem to be sagging or coming loose, re-secure them immediately to avoid further deterioration. Regular maintenance will help prevent minor issues from becoming larger problems, ensuring your faux vines continue to look their best for years to come.
Incorporating artificial vines into ceiling decor is a creative way to enhance both residential and commercial spaces. With proper planning, installation, and maintenance, faux vines can provide long-lasting beauty, practicality, and versatility. By considering factors like weight distribution, safety precautions, and regular upkeep, you can ensure a secure, aesthetically pleasing installation that elevates your space for years to come.

