Introduction:
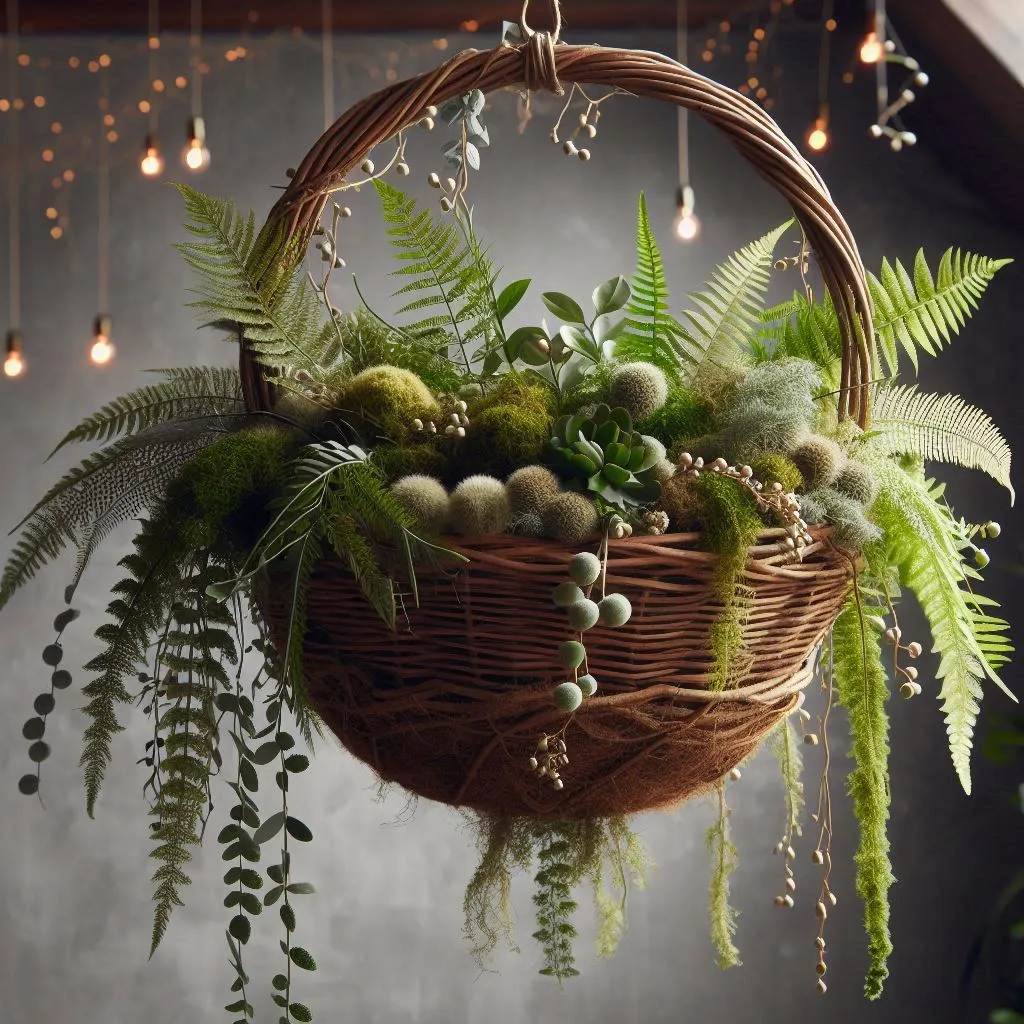
For green plant lovers, we are all familiar with his difficult situation. That is, he is not good at gardening. So how to stay in touch with nature without putting plants at risk of death. Artificial hanging plants is your best choice. Because they will not die and do not require specific soil conditions. Of course, we can choose a hanging basket to make it better.
If you purchased a finished hanging basket, you can skip this step. If you’re dying to make your own hanging basket with custom fake plants to make your home decor unique, it’s much easier than you think. This simple DIY project is perfect for beginners because it uses just a few materials and some very simple instructions. Here’s how to turn your faux plants into a stunning hanging basket.
Let’s have a try.
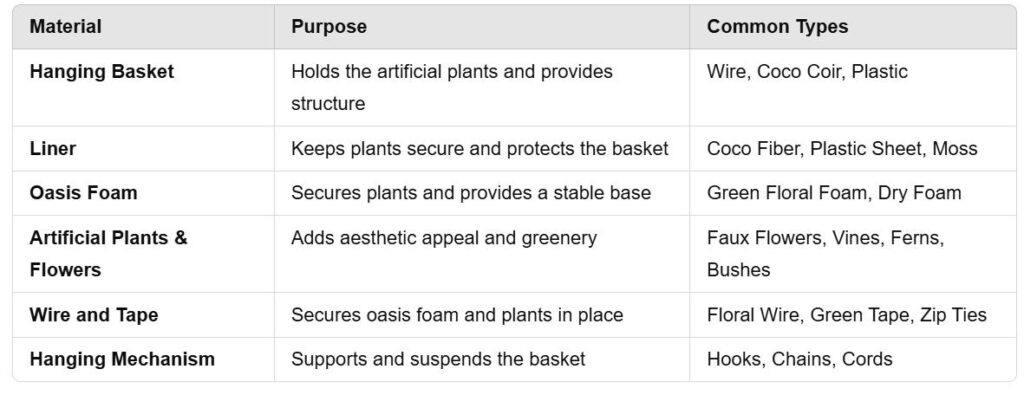
– Materials You’ll Need to Make a DIY Artificial Hanging Basket.
– Step-by-Step Guide to Making Your Artificial Hanging Basket
Step 1 – Choose and Prepare Your Basket Frame and Weigh It Down.
To match your existing décor, you should choose the right basket for your artificial hanging plants arrangement in terms of size, shape and material. The most common materials for best artificial hanging baskets for outside include wire, wicker, coconut fiber or plastic. For beginners, we recommend making wicker baskets which is more suitable.
Besides, you have to add weight to the bottom of the basket to prevent a hanging basket with fake plants in it from tipping over or swaying too much in the wind. Though fake plants don’t need soil or other traditional planting materials, you still need weight for them. Cover the inside with a liner to create a barrier and ensure that the weight doesn’t damage it. Then, you can use rocks, soil or sand to weigh down the basket and help it stay in place after it’s hung. Start with a small amount and add more as needed until you reach the desired level of stability.
Step 2 – Insert a Liner (Optional but Recommended)
As we said in step one, liner is needed when adding weight. Yes, adding liner will keep the basket neat and stable. It will also help maintain the shape of the basket and prevent any mess from foam or other materials.
Step 3 – Secure Floral Foam or Fillers Inside the Basket
Once you have your basket frame ready, your flowers will need something to hold them in place in the container. If you have never used floral foam before, you can never go wrong with Oasis foam, which you can purchase online or at your local florist.
First, after measuring the inside dimensions of your basket, use a sharp knife or foam cutter to cut the Oasis foam so it fits snugly around the basket. If needed, you can cut the foam into smaller pieces to better fit the shape of the basket.
Second, the cut pieces of Oasis foam will be put on top of the bar deadweight liner. How? Start from the bottom of the basket and build up layer by layer, making sure to fill in any gaps. And then press the foam firmly, making sure it is in contact with the bottom and every side of the basket.
Finally, in order to prevent the foam from moving or shifting when you insert your fake plants, you can fix the foam with wire or floral tape. If you use floral wire, a crisscross pattern on the foam can be created to hold it firmly in place. Then twist the ends of the wire together. If you use floral tape, wrap it around the foam and basket tightly, making sure to cover every edge and corner.
Step 4 – Insert Artificial Plants into the Basket
This step will be the most interesting part.
The stems of fake plants can not grow, so you can customize the arrangement according to your liking at the beginning to fill the basket. In this way, you have full control over it.
You can use fake plants of different sizes, shapes, and colors to achieve a visually appealing effect, depending on your preferences. To poke them in the container, you need to trim the stems.
Then bend each stem and fluff up the foliage so that they look nice and full. To achieve a balanced arrangement, we need to consider the distribution of colors, sizes, and shapes. Do not cluster all of the same type of plants in one area. Instead, spread them evenly throughout the basket. From time to time, identify any areas that need more plants or adjustments by stepping back and looking at the basket from different angles.
Step 5 – Add Decorative Touches
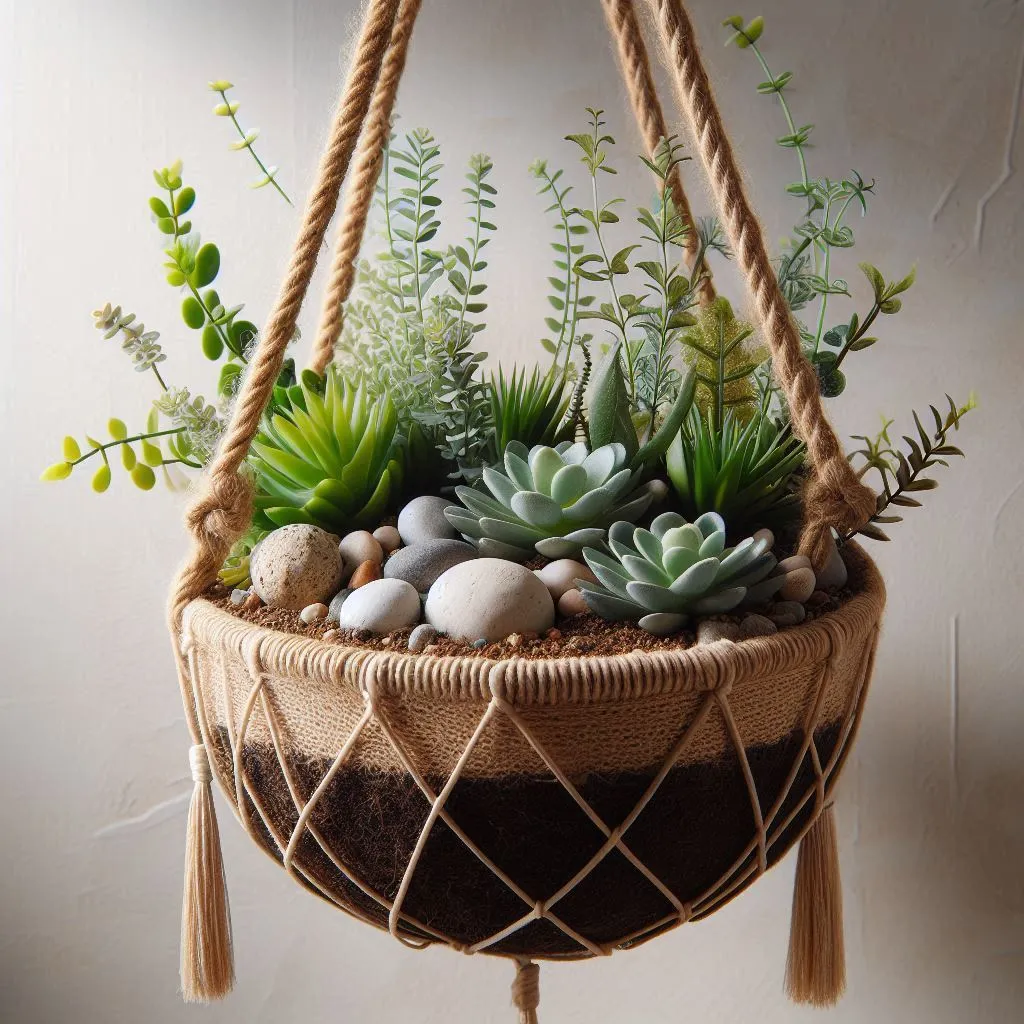
After putting all the faux plants in the basket, to make it more realistic, decorative elements can be added to enhance the overall look and make it more visually appealing. For example, artificial moss can make your basket natural look and earthy, which can create the illusion that the plants are growing out of the soil. Decorative stones can make your basket elegant, as they usually come in a variety of colors, shapes and sizes. Ribbons can add make your basket colorful and charmful, which are particularly suitable for adding a festive or decorative element depending on the occasion.

Step 6 – Secure the Hanging Mechanism
This step is a critical one. Hold the basket by its hanging device (hook, chain, or code) and observe how it hangs. If one side is heavier than the other, the basket will be unsightly and potentially dangerous. To ensure balance in the basket for a visually pleasing display, you can rearrange the plants and decorative elements inside the basket. Until you achieve perfect balance.
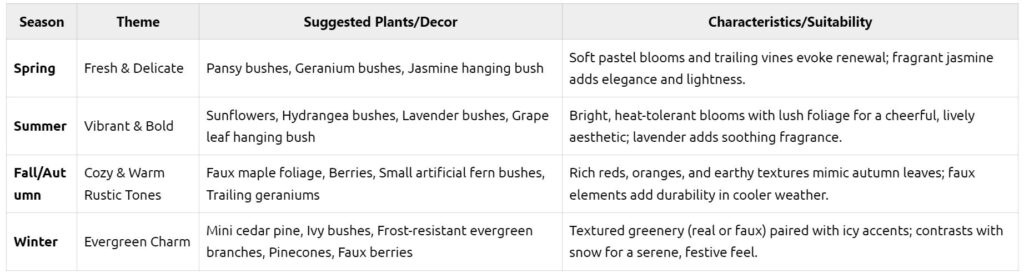
– Seasonal Hanging Basket Inspiration
Spring Themes:
Choose the ones which can bring a fresh and delicate look, capture the essence of spring, like pastel flowers (e.g., pansy bushes, geranium bushes) and jasmine hanging bush.
Summer Vibes:
Choose the ones which can create a vibrant summer atmosphere, like bright blooms like sunflowers, hydrangea bushes, or lavender bushes, along with a grape leaf hanging bush.
Fall/Autumn Styles:
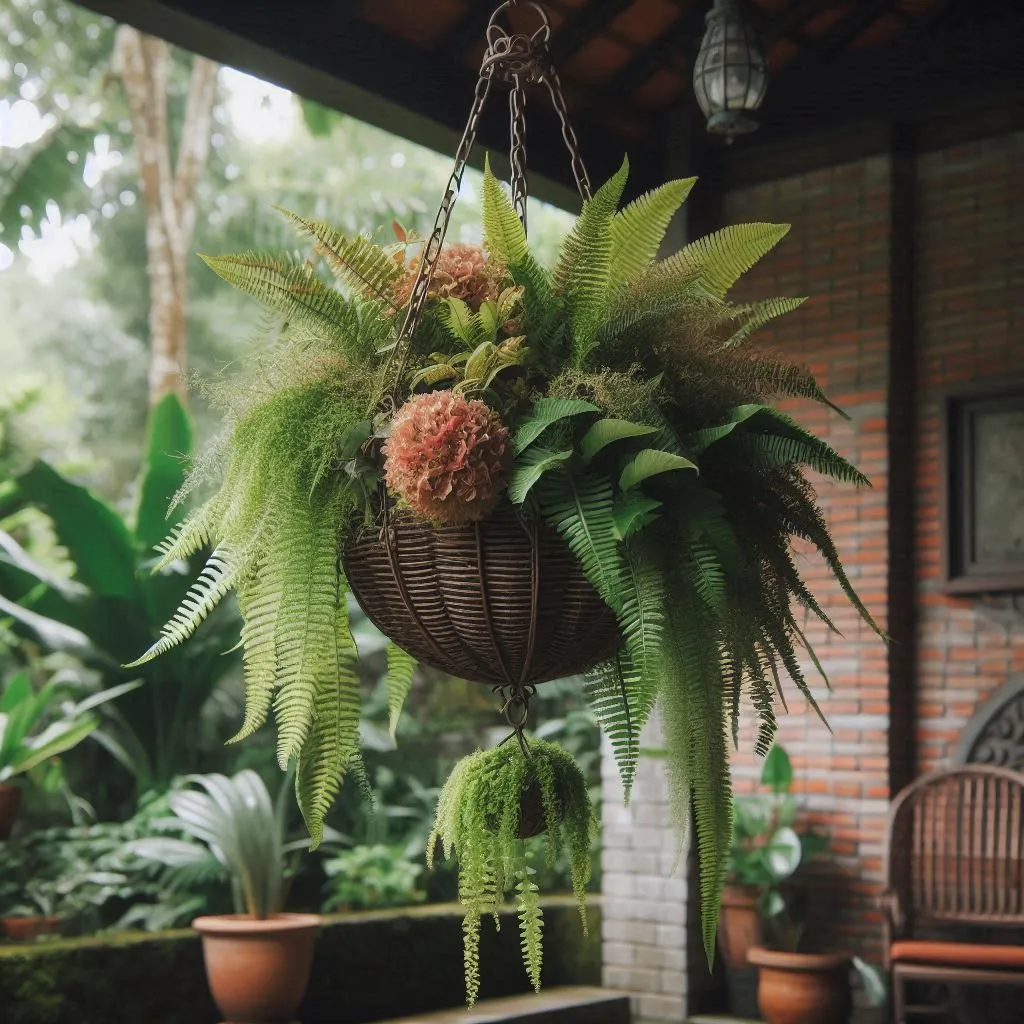
Choose the ones which can evoke the cozy and rich colors of the fall season, like warm tones with faux maple foliage, berries, small artificial fern bushes, or trailing geraniums.
Winter Wonderland:
Choose the ones which can add a touch of charm during the cold months, like evergreen branches, mini cedar pine, and ivy bushes.
– Common Mistakes to Avoid When Making an Artificial Hanging Basket
Poor-Quality Materials: Cheap artificial hanging baskets for outside and artificial plants may quickly deteriorate. So, we need to choose durable and high-quality ones, which can withstand various weather conditions and make the hanging basket more realistic in the outdoors.
Overcrowding the Basket: It not only makes the basket look unnatural and cluttered but also prevents each plant from showing its beauty. Better to make sure that your hanging basket plants are dense but lightweight enough to move in the wind like real greenery.
Weak Hanging Mechanism: hooks and chains in good quality can support the weight of the basket and its contents securely. If you choose the insecure one, the basket will fall down and cause damage to the basket and the inner artificial flowers.
Conclusion:
It is very interesting to make a DIY artificial hanging basket. You can create a beautiful and unique hanging basket by following these steps, choosing the right materials, and getting inspired by the seasons. It will enhance the beauty of your home or garden. At the same time, pls. also avoid common mistakes which will ensure that your creation is both aesthetically pleasing and long-lasting.