Tired of spending thousands annually on landscaping maintenance while dealing with dead plants and inconsistent results? Installing artificial trees in the ground eliminates ongoing care costs while providing year-round visual appeal.
Based on our years of project experience, we know various installation methods for planting artificial trees in the ground. We will share the simplest method in this blog.
Can Artificial Trees Be Planted Outdoors?
YES, artificial trees can be planted outdoors. These versatile landscaping solutions are suitable for a wide range of outdoor environments including:
| Outdoor Application | Best Examples |
| Commercial properties | Shopping centers, office complexes, and business parks |
| Residential landscapes | Front yards, backyards, and garden spaces |
| Hospitality venues | Hotels, resorts, and event spaces |
| Public spaces | Parks, walkways, and municipal areas |
| Harsh climatic zones | Desert regions, coastal areas, and urban environments |
For outdoor use, false trees must possess these material characteristics for longevity and performance:
- UV-resistance to prevent fading and degradation under intense sunlight
- Weather-resistance to withstand rain, wind, and temperature changes
- Corrosion resistance in case of coastal environments with salt spray exposure
- Fire-retardant certifications for safety compliance in commercial applications
- Flexible materials – One that moves naturally with the wind rather than breaking
At FeelReal, our UV-resistant formulations and fire-retardant plants ensure outdoor installations withstand the harshest environmental conditions. We incorporate specialized UV-resistant compounds into every leaf and stem… preventing fading even under intense sunlight. Our outdoor plants made of premium HDPE plastics and specially imported fabrics can last 5-10 years outside.

Steps to Plant Artificial Trees in the Ground
Installing imitation trees successfully requires expertise most people don’t know. Different installation presents unique challenges, from soil conditions to local climate factor
Here are the DIY steps.
Step 1: Pick Your Spot
You want to get this right the first time because moving these trees later is a real pain. Walk around your yard and think about where the tree will look best.
Make sure you’ve got enough room. These things can be wider than you think once all the branches are spread out.
Also consider which way the wind usually blows in your area. A tree that gets knocked over in the first storm isn’t doing anyone any favors.
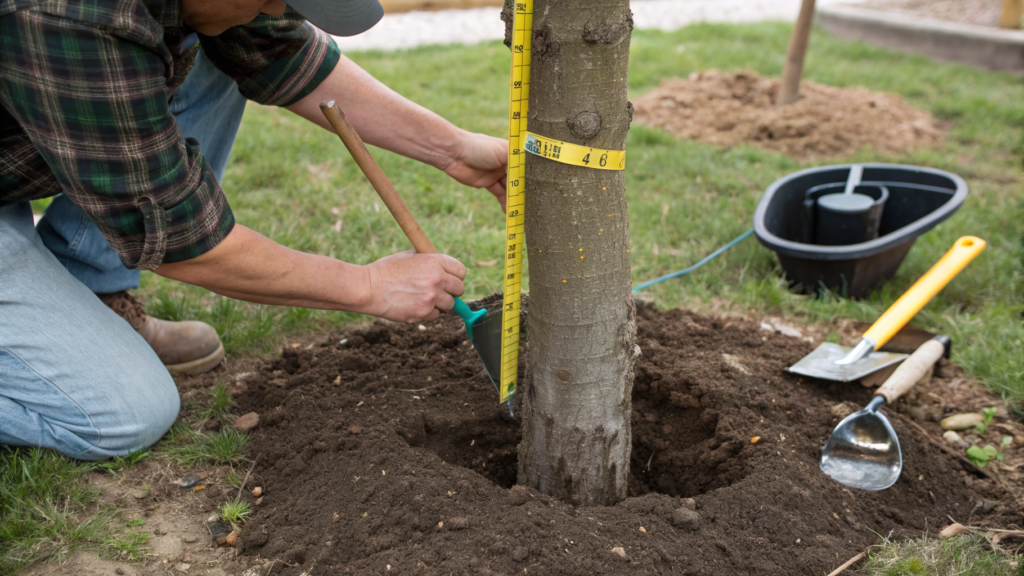
Step 2: Measure and Mark the Hole
Get out your measuring tape and determine your tree’s base size. Grab some spray paint and mark where you will dig.
You’ll want your hole a bit bigger than the base – maybe 2-3 inches wider all around. This gives you wiggle room to get everything positioned just right.
Step 3: Get Your Tree Base Ready
Before you start digging, take a good look at your tree’s base. Most come with a plastic base that goes into the ground.
If it’s hollow, slide a piece of rebar or a metal stake inside for extra strength. You can get these at any hardware store for a few bucks.
Wrap some waterproof tape around any spots where metal meets the base. This stops rust and keeps everything looking good longer.
Give the whole base a quick wipe-down while you’re at it.
Step 4: Time to Dig
Here’s where the real work starts. You’ll need to go deeper than you might think – usually 6 to 12 inches deeper than your tree’s base.
Make the bottom of your hole as flat and solid as possible. Stomp around on it or use the back of your shovel to pack it down tight.
For tall trees or if you live somewhere windy, go with concrete instead of just soil.
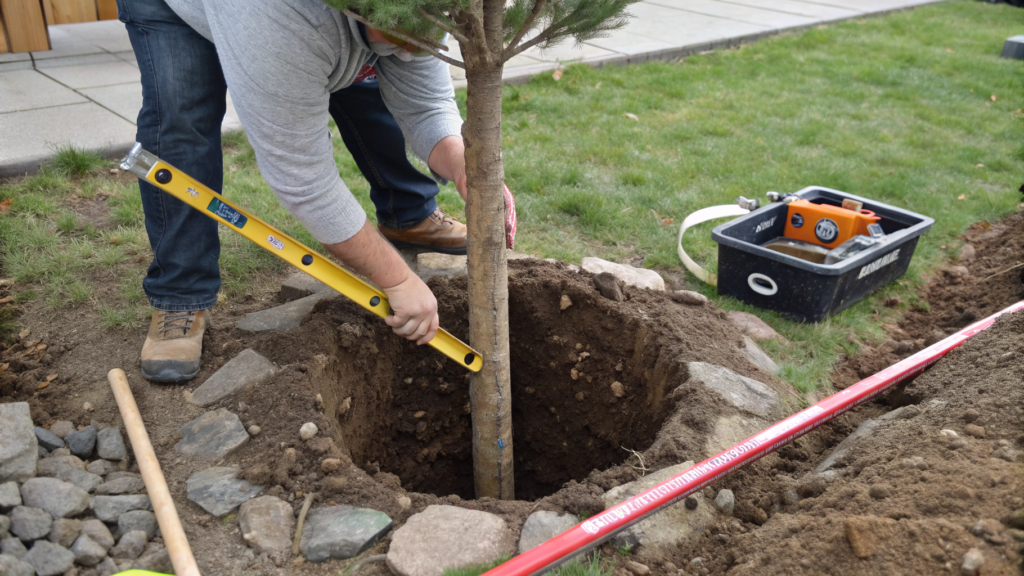
Step 5: Position the Tree
Lower your tree into the hole carefully. These things can be heavier than they look.
Here’s a pro tip: use a level if you have one, or just step back and eyeball it from a few different angles.
Nothing looks worse than a crooked tree. If it’s leaning, add dirt or small rocks under one side of the base until it stands straight.
Step 6: Lock It Down
Now you’ve got two choices, and both work fine:
The Easy Way (Soil Backfill)
Just fill the hole back up with the dirt you dug out, maybe mix in some gravel if you’ve got it lying around.
Pack it down really well as you go. You don’t want any air pockets after the filler. This works great for most home installations.
The Bulletproof Way (Concrete Method)
If you want this thing to stay put no matter what, mix up some quick-set concrete and pour it around the base. You’ll need to hold the tree steady for about 15 minutes while it starts to harden. Give it a full day or two before you mess with it much.
Step 7: Cover and Blend the Base
This is where you separate the amateurs from the pros. Nobody should be able to tell you’ve got hardware buried under there.
Spread some topsoil, mulch, or decorative rocks around the base. Use whatever matches the rest of your landscaping.
The key is making it look like the tree just grew there naturally. Hide any visible mounting hardware –even a little bit showing gives the whole thing away.
Step 8: Final Adjustments
Your tree probably got squished during shipping. So the branches need some love. Bend and twist them until the whole thing looks like a realistic tree. This part takes some patience, but it makes all the difference.
Brush off any dirt that got on the leaves during installation, then step back and take a look. Walk around it from different angles. You’ll probably spot a few branches that need tweaking.
Finishing Touches for a Realistic Fake Tree
Getting the finishing details right differentiates between an obvious fake and something that fools everyone. These tricks work great for backyard and gardening projects.
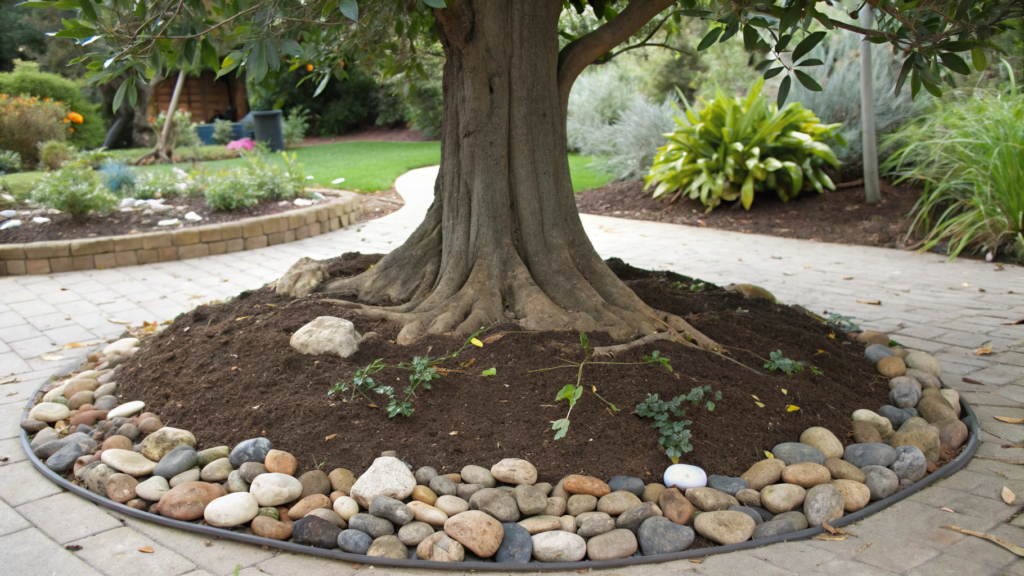
Seamlessly Hiding the Base with Mulch, Rocks, or Soil
How you hide the base determines if people can tell your tree is fake. If anyone can see mounting hardware, you’re busted.
Mulch
Put down 3-4 inches using colors that match what you already have. Blend the edges so there’s no obvious circle.
Decorative Stone
Pick stones that go with your existing hardscape. Lava rock, river stone, whatever fits your style.
Layered Look
Mix soil, bark chips, and mulch to copy how a real forest floor looks. This cover method looks most natural.
Bending and Shaping Branches for a Natural Silhouette
Your artificial tree’s branches get compressed during shipping, so they need reshaping to look natural. This step makes a huge difference in the final appearance.
Begin shaping from the trunk outward, working systematically through each branch level. Large branches establish the tree’s overall silhouette while smaller branches fill gaps and create realistic density patterns.
Heat application can improve shaping results for synthetic branches that have become rigid during shipping. Warm branches become more pliable, accepting new positions more readily than cold materials.
Use hair dryers or heat guns on low settings, working carefully to avoid damage to stems or flowers.
Integrating with Live Plants and Your Existing Landscape
Mixing fake trees with real plants makes everything look more convincing. Clever placement gives you the benefits of both for decoration.
Put low-maintenance ground cover around your fake tree bases – it draws attention away from the synthetic parts. Use your fake trees as a background and put live plants in front when possible.
Set up your watering system to hit the real plants but avoid the fake trees. This works whether your trees are in the ground or in pots.
Adding Natural Debris for Ultimate Realism
Real trees drop leaves, twigs, and other debris. Adding some of this around your big artificial tree makes it look much more natural.
Scatter appropriate leaves around tree bases using leaves from similar tree species found locally. Avoid using leaves from the actual artificial tree, as they often appear too perfect or uniform for natural conditions.
Add small twigs and branch fragments around the installation to mimic natural tree debris patterns. Natural trees continuously drop small debris throughout the year, and artificial installations lacking this debris appear unnaturally clean.
Top Faux Plant Types for Outdoor Spaces
Different fake tree types handle outside weather differently. Knowing how each performs helps you pick the right one and avoid problems.
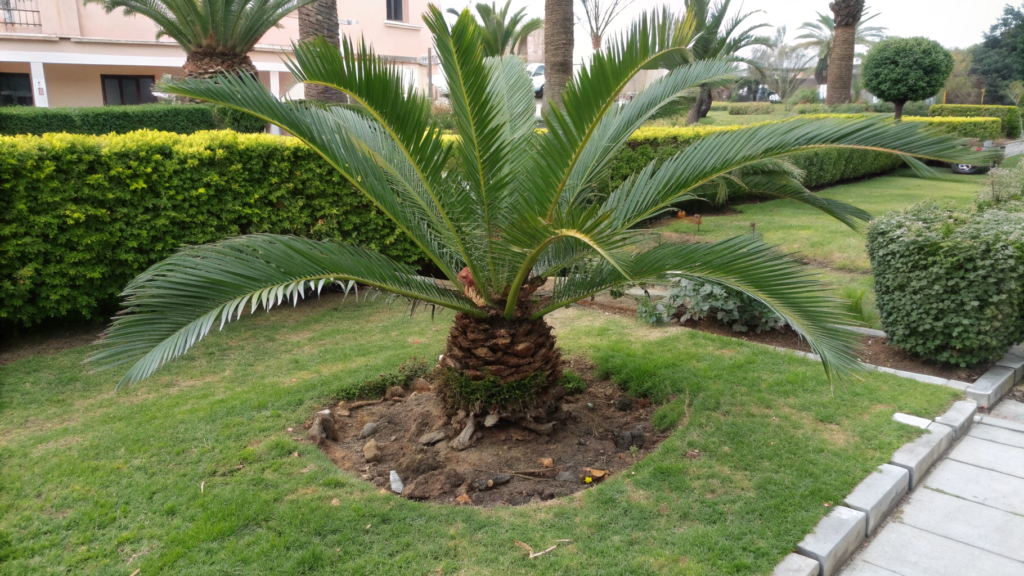
1. Artificial Palm Trees
Palm trees dominate commercial artificial tree sales because they create an instant tropical atmosphere while handling outdoor conditions better than most alternatives. The hospitality industry particularly values artificial palm trees because they deliver a consistent tropical ambiance regardless of climate or season.
FeelReal’s palm trees use specialized frond materials that flex with the wind rather than breaking. Early artificial palms suffered frequent wind damage because rigid materials couldn’t handle natural movement. Current designs incorporate flexibility that mimics live palm behavior under stress.
UV resistance becomes critical for palms because their large surface area exposes significant material to direct sunlight. Premium formulations maintain color stability and material integrity even under intense desert conditions that would stress live vegetation beyond survival limits.

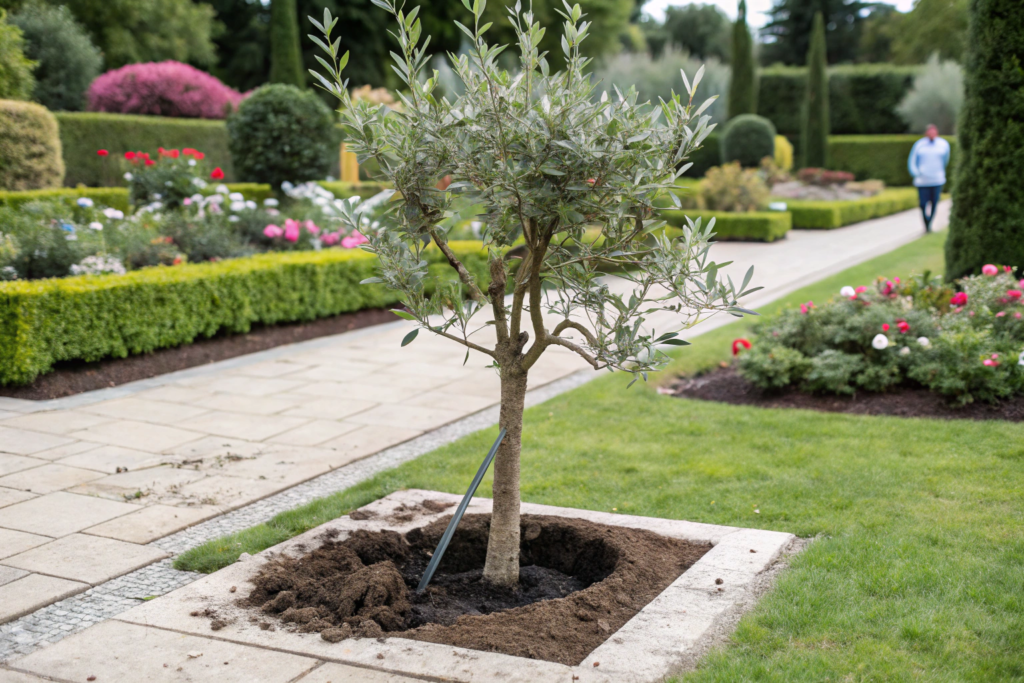
2. Artificial Olive Trees
Artificial olive trees bring that classy Mediterranean look without the need for perfect weather. These fake trees are suitable for upscale spots where you want something elegant but not flashy.
At FeelReal, we’ve developed specialized manufacturing techniques to achieve the distinctive silver-green, two-tone leaf coloration that makes olive trees instantly recognizable.
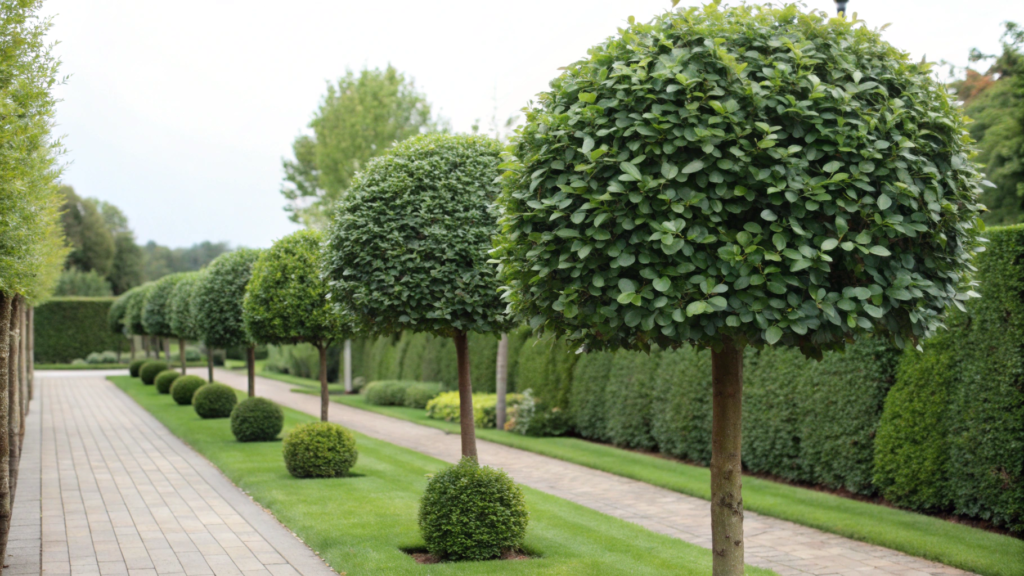
3. Artificial Boxwood Trees
Artificial boxwood trees work great alone or as part of a hedge. The thick greenery makes solid blocks of green that look formal and neat.
We make the small leaves look realistic with natural textures and different shades of green. So they don’t look flat and fake.
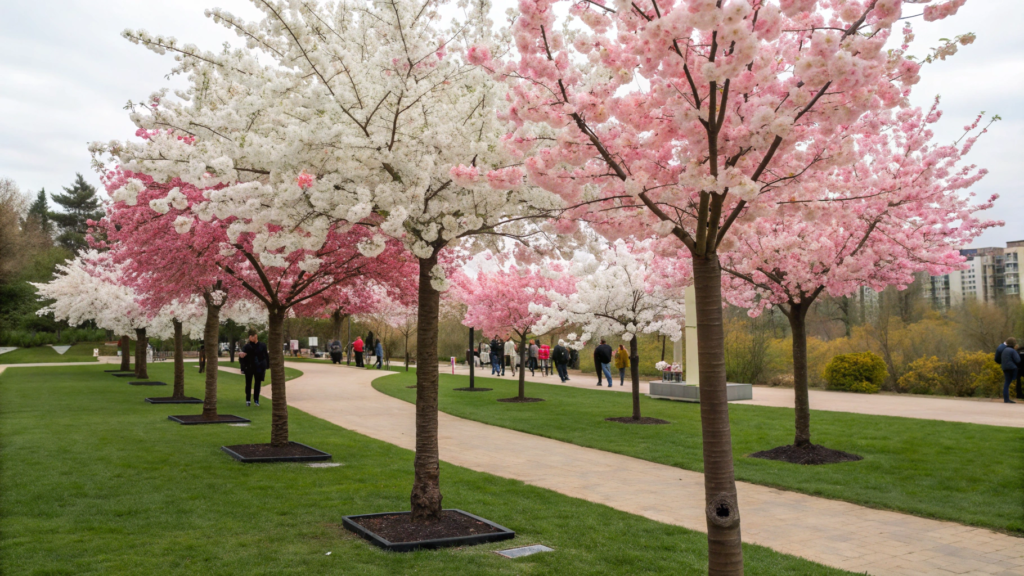
4. Artificial Cherry Blossom Trees
Cherry blossom trees give you gorgeous floral displays whenever you want them. They suit events and marketing when you need consistent flowers that always look good.
The synthetic flowers stay beautiful forever, no matter what the weather does or what season it is.
FAQs about In-Ground Artificial Tree
How to Maintain an In-Ground Artificial Tree?
Artificial tree maintenance focuses on cleaning and protection rather than biological care requirements.
Use compressed air monthly to remove debris accumulation. Gentle water washing with mild detergent removes stubborn dirt and environmental pollutants.
Remove heavy snow loads manually to prevent branch damage. Monitor during extreme temperatures that might affect synthetic material properties.
How Long Do In-Ground Fake Trees Last Outside?
High-quality UV-resistant artificial trees typically last 5- 10+ years when properly installed and maintained. Material quality, installation methods, and environmental conditions all influence lifespan expectations.
Premium materials resist UV degradation and fading. Proper installation prevents wind damage and maintains stability throughout service life. Commercial landscaping investments should be evaluated on the total cost of ownership rather than initial price alone.
Partner with Artificial Plants Direct Factory
FeelReal’s 20+ years of manufacturing experience and 1,000+ completed commercial projects worldwide demonstrate our commitment to quality and performance. Our factory produces UV-resistant and fire-retardant artificial trees for diverse commercial and home applications across 60+ countries.
Ready to Transform Your Landscape?
Get started today with professional-grade artificial trees that deliver lasting beauty without the maintenance headaches. Contact FeelReal now for:
- Free consultation and site assessment
- Custom quotes for your specific project requirements
- Professional installation guidance and support
- Bulk pricing for commercial applications
Request Your Free Quote Today and discover why thousands of satisfied customers trust FeelReal for their artificial landscaping needs.