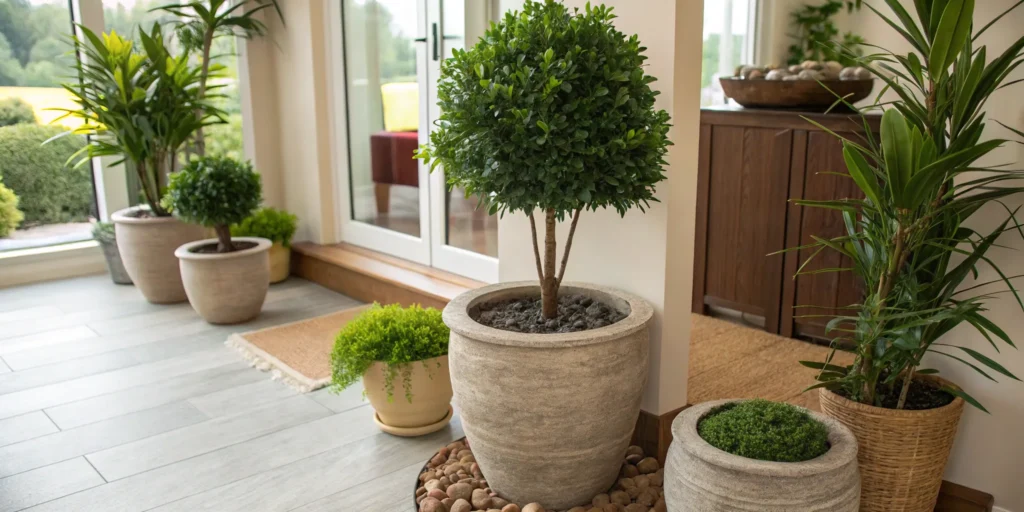
Planting artificial plants in your house will add a permanent, zero-maintenance sense of greenery. However, a foam-filled plastic pot appears cheap and unnatural. The key to a natural performance? Fake soil.
Faux filler can be easily made with basic materials that will make your planter or pot look like a real one and last indefinitely. This is a quick and easy DIY project that will transform your house and projects. Getting this little bit of knowledge will turn your long-term plans into aesthetic spectacles.
Why Use Fake Soil for Artificial Plants?
The question that many people ask is whether it is possible to use real dirt on artificial plants. You might, but then you would have all the mess and possible problems of live plants. Faux soil provides you with all the visual effect without any of the bother. It is the final touch that completes the divide between a man-made object and a natural one of decor.
Real Soil vs. Fake Soil: What’s the Difference?
Real soil is messy; it gets compact, retains moisture which can grow mold and usually spills on the bottom of your pot. Actual dirt also creates the risk of pests, fungus and plastic decay of the artificial plant stems over time as a result of organic decay. When using real soil, you will also need to consider the issue of drainage, which negates the concept of an artificial display that is maintenance free.

Fake soil not only offers a realistic style and texture, but also has no issues of dirt or drainage. They are also designed specifically to be sterile, lightweight, and permanent, which provides the faux soil with the ability to retain aesthetic permanence in a way that real soil cannot. The distinction lies in purpose: authentic soil is to be fed on, and artificial soil is to be left to look good and have a pleasing appearance.
The Practical Benefits of Faux Soil
There are several advantages to using faux soil:
- Stability: It is a lightweight, fixed filler, which firmly fixes your artificial plants. This will be important in the taller or heavier plants that require a solid foundation to avoid falling over.
- Cleanliness: You do not need to be afraid of spillages, pests, and molds. This particularly applies to exhibitions in business or showrooms or busy places where cleanliness and appearance matter the most.
- Aesthetics: It further fills the illusion, so that your permanent arrangements appear to be flourishing, potted plants. The last element of the decor that determines the setting of the display, be it a desert landscape of dry sand or a lush and dark forest floor, is the visible surface of the soil.
- Sturdiness: It is made to be water-resistant and durable and is ideal for both indoor and outdoor decor. Substances such as resin or hardened plaster do not fade or wear and tear, which is the lasting carefree beauty.
- Safety: You are getting rid of the chemical or biological hazards of moisture and decomposing organic material, which makes the environment of homes or offices a safer place.
- Customization: The fake soil can easily be customized to suit the color and texture of the particular style or season of your decor, which is not possible with real dirt.
What Materials Can You Use to Make Fake Soil?
There are numerous excellent choices, based on your fashion and price. Depending on the environment you would like to create, you can select the most suitable material to use in making fake soil. The most important step to a successful craft is the selection of material.
| Fake Soil Material | Style / Best Use | Detailed Description and Crafting Tips |
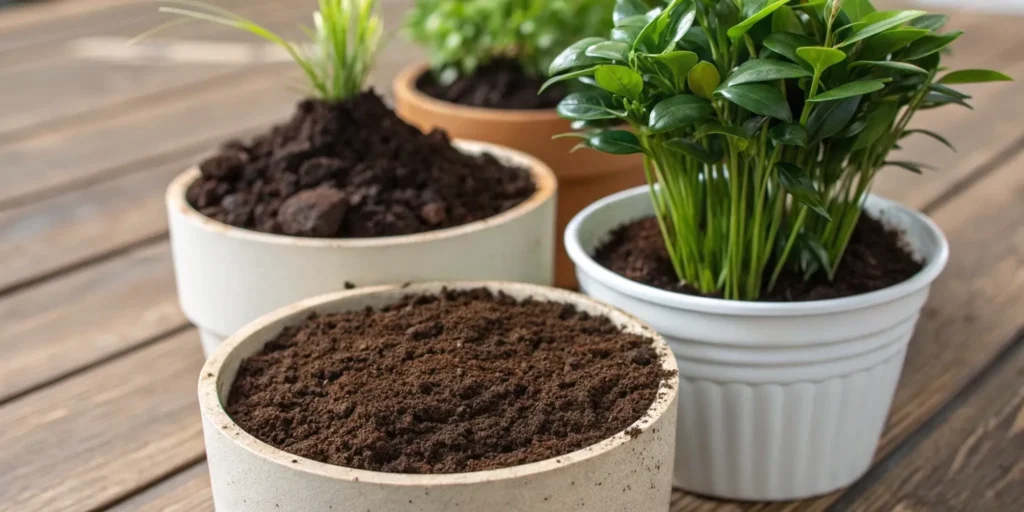
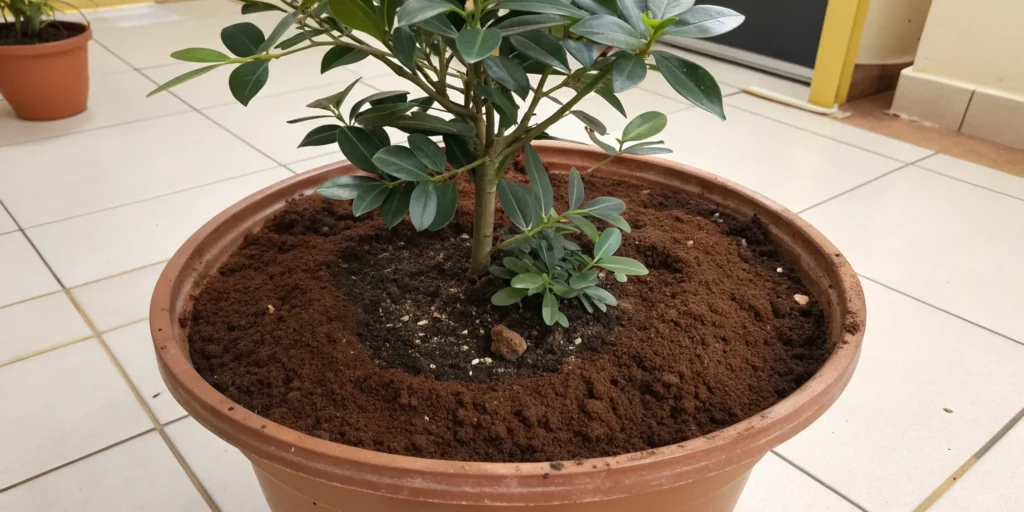
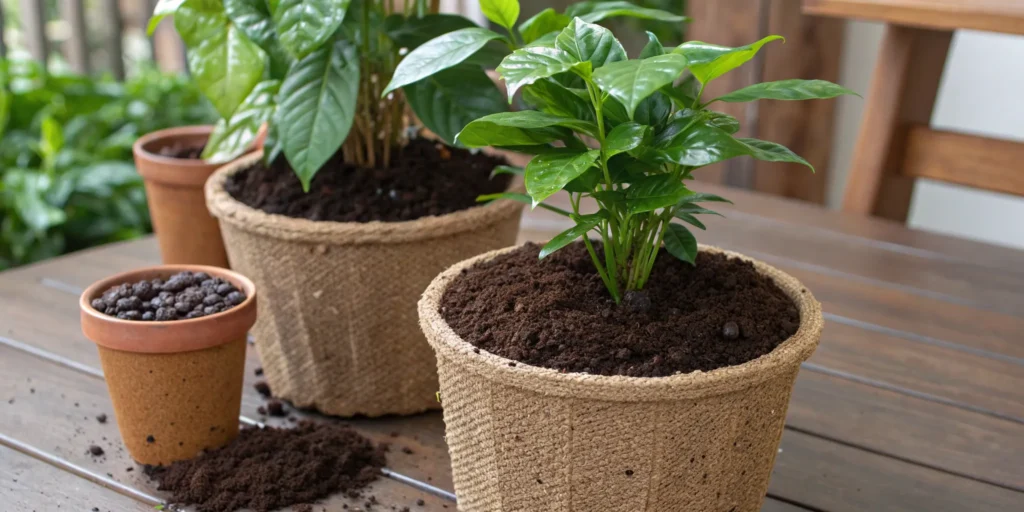
| 1. Coffee Grounds Fake Soil | Most Popular & Easy to Make | This is the DIY solution of choice to deep, rich brown. As a preventive to mold, Dry used coffee grounds in a very thin layer, on a baking sheet. When dry, add them to some white glue (PVA) or a little dark paint and water until they obtain a thick paste that can be spread on. This combination produces an immensely natural color and sandy texture, which is ideal in tropical or temperate vegetation. On the topmost layer, sprinkle dry grounds on the wet mix as much as possible to achieve maximum texture. |
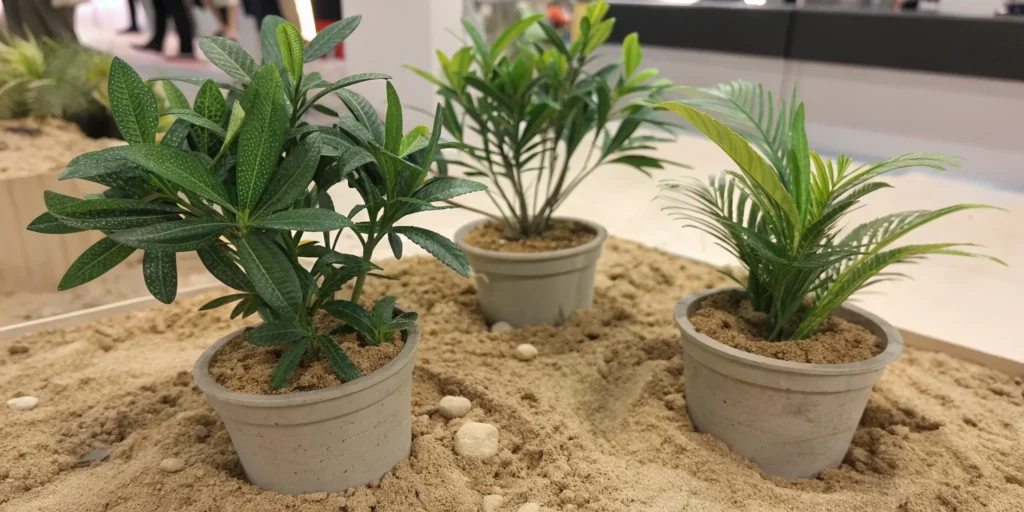
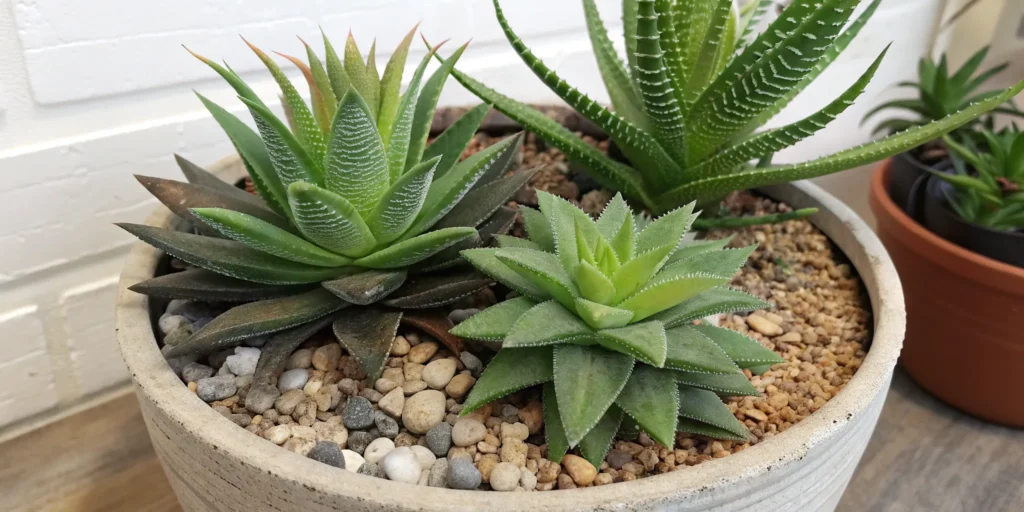
| 2. Sand-Based Fake Soil | Desert & Succulent Style | Sand is necessary in succulent arrangements or plants that require a pale and dry appearance. Fine silica sand is available in fine arts stores. In order to make it permanent, combine the sand with a clear resin or hardening agent such as plaster of Paris. In case you are using plaster, put a drop of beige or tan paint to resemble dry dirt. This blend keeps the sand in position and avoids spillage and still gives the desert style look. |
| 3. White Plaster Fake Soil | Most Durable | Plaster of Paris or concrete mix offers a concrete rock-solid and durable filler and top coat. This would be the most appropriate option with large, top-heavy artificial plants that may be placed outside where wind is taken into consideration. Add your plaster as suggested in the package and pour it on your foundation base. Prior to its setting, apply dry paint pigments, crumbled dirt or dark coffee grounds to stain the surface. The plaster base is structurally stable and long-lasting. |
| 4. Granulated Salt Fake Soil | Budget-Friendly and simple | Course or granulated kitchen salt can be used as a filler in small and shallow pots, which is cheap and fast. Since salt is soluble in water, this solution is only to be used indoors and not recommended in humid environment. In order to fix the salt, apply a hairspray or a clear sealant in the form of a matte to the surface after placing your plants. This technique is mostly applied to fast, temporary exhibitions that require a bright, white, or light beige earth appearance. |
| 5. Cocoa Powder & Sawdust Mix | Most Natural Look | This blend produces an extremely natural appearance as the deep hue of dark cocoa powder is blended with the fine sawdust texture that is delicate and gritty at the same time. Add cocoa powder and sawdust in the ratio of one to two and then add white glue gradually until the mixture becomes slightly sticky. Pat the mixture on the surface of the pot and allow it to dry. The texture and the earthy sound are so diverse that they are exactly like freshly turned dirt. Always use unsweetened cocoa powder so that insects are not attracted. |
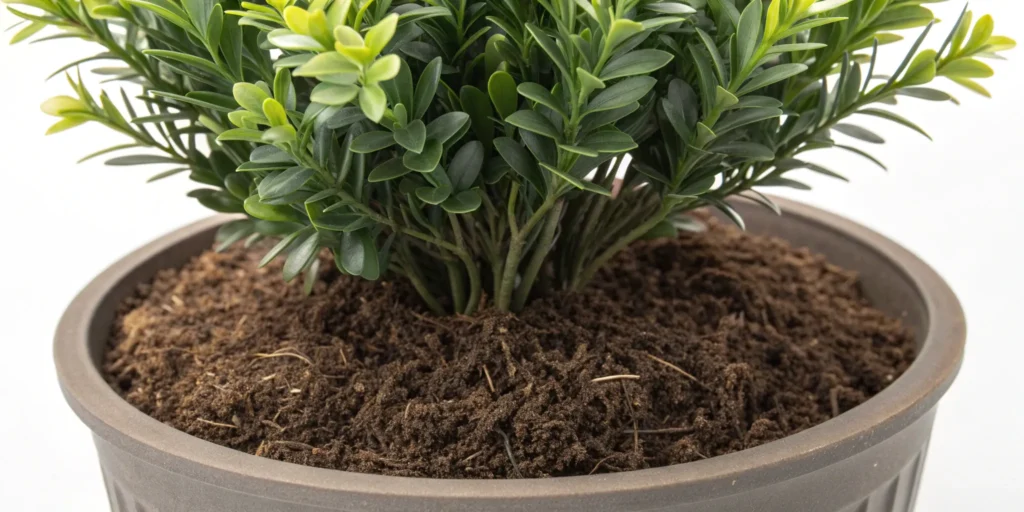
| 6. Moss & Bark Blend | Forest Floor Style | Fine soil is not always in demand. In the case of lush and temperate plants or ferns, a thick mixture of dried moss (such as sheet or sphagnum moss) and tiny fragments of shredded bark should be used. Nail the moss and pieces of bark to the top cover of filler foam or structural bottom or base. This gives it a very rich organic forest floor appearance that focuses on moisture and decomposition. This is a powerful non-granular filler. |
| 7. Resin Fake Soil | Professional Quality | The best choice in pursuing professional quality is resin. A layer of dry-colored sand, coffee grounds or fine gravel is poured over two parts of clear epoxy resin. The resin hardens forming an immovable, waterproof, glass-like cover on the soil surface. It is the perfect filler to the high-end displays or any outdoor use where permanency and longevity is needed. |
How to Make Your Fake Soil Look Ultra-Realistic?
To produce a realistic fake soil to use in your fake set-up, there are several important steps that can be followed to make the illusion complete:
1. Master the Base Layer and Substrate
Layering is key. Do not work on the same material up and down. This wastes costly materials and causes unwarranted weight. Begin with a cheap, light filler at the base of the two-thirds of your pot, i.e. foam, heavy gravel (to hold it in place), or crumpled paper. To be on the safe side, use structural foam to hold your artificial outdoor plants together in the event they are top-heavy. Then simply pour the faux soil mixture into the top inch or that part that is exposed. This approach is both stable and maximizes the cost-effective advantages of the DIY approach.
2. Introduce Natural Imperfections
Add natural texture. True dirt will never be of uniform color. Add a small amount of medium-sized items (small pebbles, small wood chips or crumbled bark) to the fine materials (coffee grounds, sand) in order to create the rocky appearance of actual earth.
- Debris: Glue minute sticks or pieces of drowned leaves on the surface to create the impression that it is natural debris that has fallen on the ground.
- Rocks and Gravel: Small pebbles of river or pea gravel that have been washed or are dry are pressed into the plaster or glue mixture that is wet. This implies drainage and natural layer of sediment.
- Minor Change of Color: Take two slightly different tones of your basic soil color; e.g. dark brown coffee grounds bottom and light brown dry sand sprinkled on top.
3. Perfect the Color and Finish
Color consistency matters. When you use a binder such as plaster or a light colored material, then it is important to color it. Apply acrylic paint (brown, black or red earth colors) to suit the dirt in the way you want. Do not use deep black, but deep brown or a grayback to make it appear to be wet earth. To make the last touches, the following should be tried to make the work more realistic:
For the final touches, try the following to enhance realism:
- Dusting: Sprinkle contentiously a portion of powdered charcoal or some genuine fine, dry powdered coffee on the surface to make the surface look dusty.
- Wetting Effect: Wetting is only applied to small areas using a high-gloss clear sealant to give the appearance of a freshly watered appearance with none of the water issues.
- Root Simulation: Weakly on the base of the stem, a little of the roots should be carefully exposed and painted in, to give the plant an appearance of being firmly established.
4. Securing the Faux Soil Permanently
After getting the realistic appearance that you want, you need to fix the surface of the soil. This is necessary to long-term care and stability. The method is dependent on the material:
- Glue-Based Mixes (Coffee Grounds/Sawdust): This is a layer that has been completely soaked in glue and allowed to dry (it usually takes 24-48 hours).
- Sand: Spray with some coat of clear matte acrylic sealant.
- Plaster/Resin: These are hard materials that are permanent filler and hard upon curing.
How to Clean and Maintain Fake Soil?
The advantage of faux soil is that it is easy to take care of. The first thing you have to do is to clean it to get dust off. With fake soil, you are substituting the weekly watering and pruning with dusting occasionally and touching up once a year.
Fake Soil Routine Cleaning (Dust Removal)
- Dusting: Use a soft paintbrush, a special microfiber duster or a blast of canned air to get dust off the filler surface.
- Vacuuming: In larger pots or those having solid plaster or resin bases, a little hand held vacuum and a brush attachment can remove the soil surface in a short period of time.
- Wiping: In case your artificial planter plant or decor is greasy or sticky (e.g. placed near a kitchen) wipe the leaves and the exposed soil surface with a damp cloth. Make sure the cloth is not wet but damp so that water-soluble binders such as white glue are not softened.
Long-Term Maintenance and Refreshing
- UV Fading: The color of the fake soil may fade over a long period of time, especially when the pot is placed outdoors or under direct sunlight.
- Color Refreshing: To keep it dark and earthy, now and then dust the surface with a small portion of dark coffee grounds or spray paint of brown color lightly.
- Structural Repair: In case of a dropped or lost bit of a filler made of sand, a small portion of quick-drying epoxy or clear silicone can be used to re-glue the bits or close the gap. This building treatment guarantees the permanence of your making work.
FAQs about Fake Soil:
1. Is it possible to use real dirt on the artificial plants?
It is possible, but not encouraged. Actual dirt may squeeze, promote the growth of molds and is much messier should the planter tip over. It also gives an opportunity to insects to hide. Artificial soil is more stable and does not need any care. It helps you do away with the dangers of wetness and burden of using natural soil.
2. Which is the most appropriate material to use in fake soil?
The most appropriate material will be based on your project. To achieve a natural color and style, most individuals would use the Coffee Grounds or Cocoa Powder and Sawdust Mix. They offer the most visual texture to simple interior decor. To be as durable as possible in heavy or outdoor decor, fake soil made of resin or plaster is the most appropriate, as it will be fully hardened and waterproof.
3. Which are the most suitable materials of outdoor fake soil?
In the case of outdoor application, you require a waterproof and UV-resistant material. The best quality and toughest type of fake soil is resin fake soil, which is permanently stable to wind and rain. Otherwise, a concrete mixture of sand-based cement or plaster will be hardened and will be able to retain its form and preserve its appearance in all weather conditions. In case you are going to use a glue mixture, then use waterproof plaster or glue that is designed to be used outside. Do not apply pure glue and coffee grounds mix outdoors because the adhesive may be ruined by heavy rains.
4. Which is the most suitable method of fixing tall artificial plants?
In the case of tall artificial plants, it is important to secure the bottom. To fix the main stem, a plaster or cement base should be used in the pot. Take the stem and place it in the wet plaster and hold it in place until it hardens and then place your decorative faux soil layer on it. This two-step process makes sure that the structural advantages of the hard filler are retained and a soft and realistic appearance of soil is preserved.
5. Is it possible to make the fake soil look wet?
Yes, you may make the illusion of dampness. Once the fake soil is completely dry, apply with a small and soft brush to areas of the surface a clear and high-gloss sealant. This sealant is a replica of the appearance of water absorption without any moisture and this is an ideal way to finish off your realistic showcase.
Conclusion:
To make the display of artificial plants look realistic, it is important to pay attention to one little but crucial detail, the fake soil. You do not need to use cheap foam or untidy real dirt when you can use a few simple materials to make a huge difference in your decor. With the appropriate filler, be it coffee grounds to achieve an easy and dark appearance or resin to achieve professional quality and outdoor durability, you open up many opportunities, such as increased stability and no care needs.
Adopt this DIY method and provide your fake plants with the natural base, which will make them flourish aesthetically, in any environment of a home or commercial environment. The completed planter will appear to be a believably natural item that will provide a permanent touch of green without a single drop of water.