A stunning artificial green wall can instantly transform any space, adding vibrant life and privacy without the need for watering or maintenance. If you’re wondering how to install artificial hedges and green walls, you’ll be happy to know it’s a straightforward DIY project. This guide provides you with a simple, step-by-step process to achieve a professional-looking installation on any surface, turning your vision into a beautiful reality in just a few hours.
What Tools and Materials Do You Need for Artificial Hedge Installation?
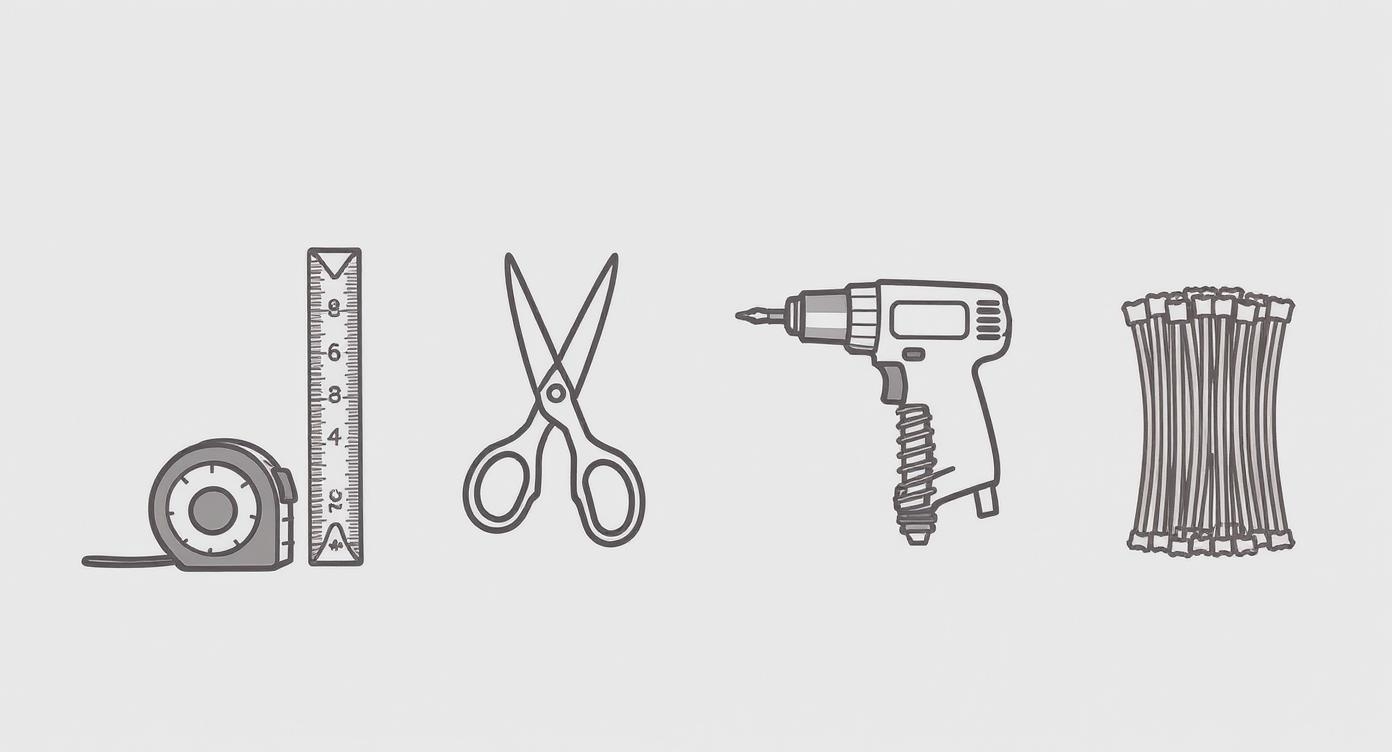
The right preparation makes artificial hedge installation faster and ensures professional results. Most installations can be completed without professional help.
- Universal Tools: Artificial hedge panels, tape measure, level, heavy-duty scissors or utility knife.
- For Wood/Drywall: Drill, and screws with washers (washers are crucial as they prevent the screws from pulling through the panel’s mesh).
- For Concrete/Brick: Hammer drill, masonry drill bit, and masonry screws with wall plugs (anchors).
- For Chain-Link Fences: Heavy-duty green or black zip ties and wire cutters.
How to Calculate Artificial Hedge Panel Requirements Like a Professional?
Never run short of panels again with this simple professional formula: measure your wall area, divide by panel size, then add 20% extra. Most artificial hedge panels come in standard sizes like 20″×20″ (2.8 sq ft) or 40″×40″ (11 sq ft). For example, a 100 sq ft wall using 20″×20″ panels needs 36 base panels, plus 20% extra (7 more panels) for cutting around obstacles, future repairs, and natural gaps – totaling 43 panels. This method prevents embarrassing shortages and costly rush orders.
Step-by-Step Process for Installing Artificial Hedges
Most artificial hedge installations can be completed in just 2-4 hours with proper preparation and the right technique for your specific surface type. The installation method varies significantly depending on whether you’re mounting to wood, metal fencing, or masonry surfaces. Follow this systematic approach for professional results that last years.
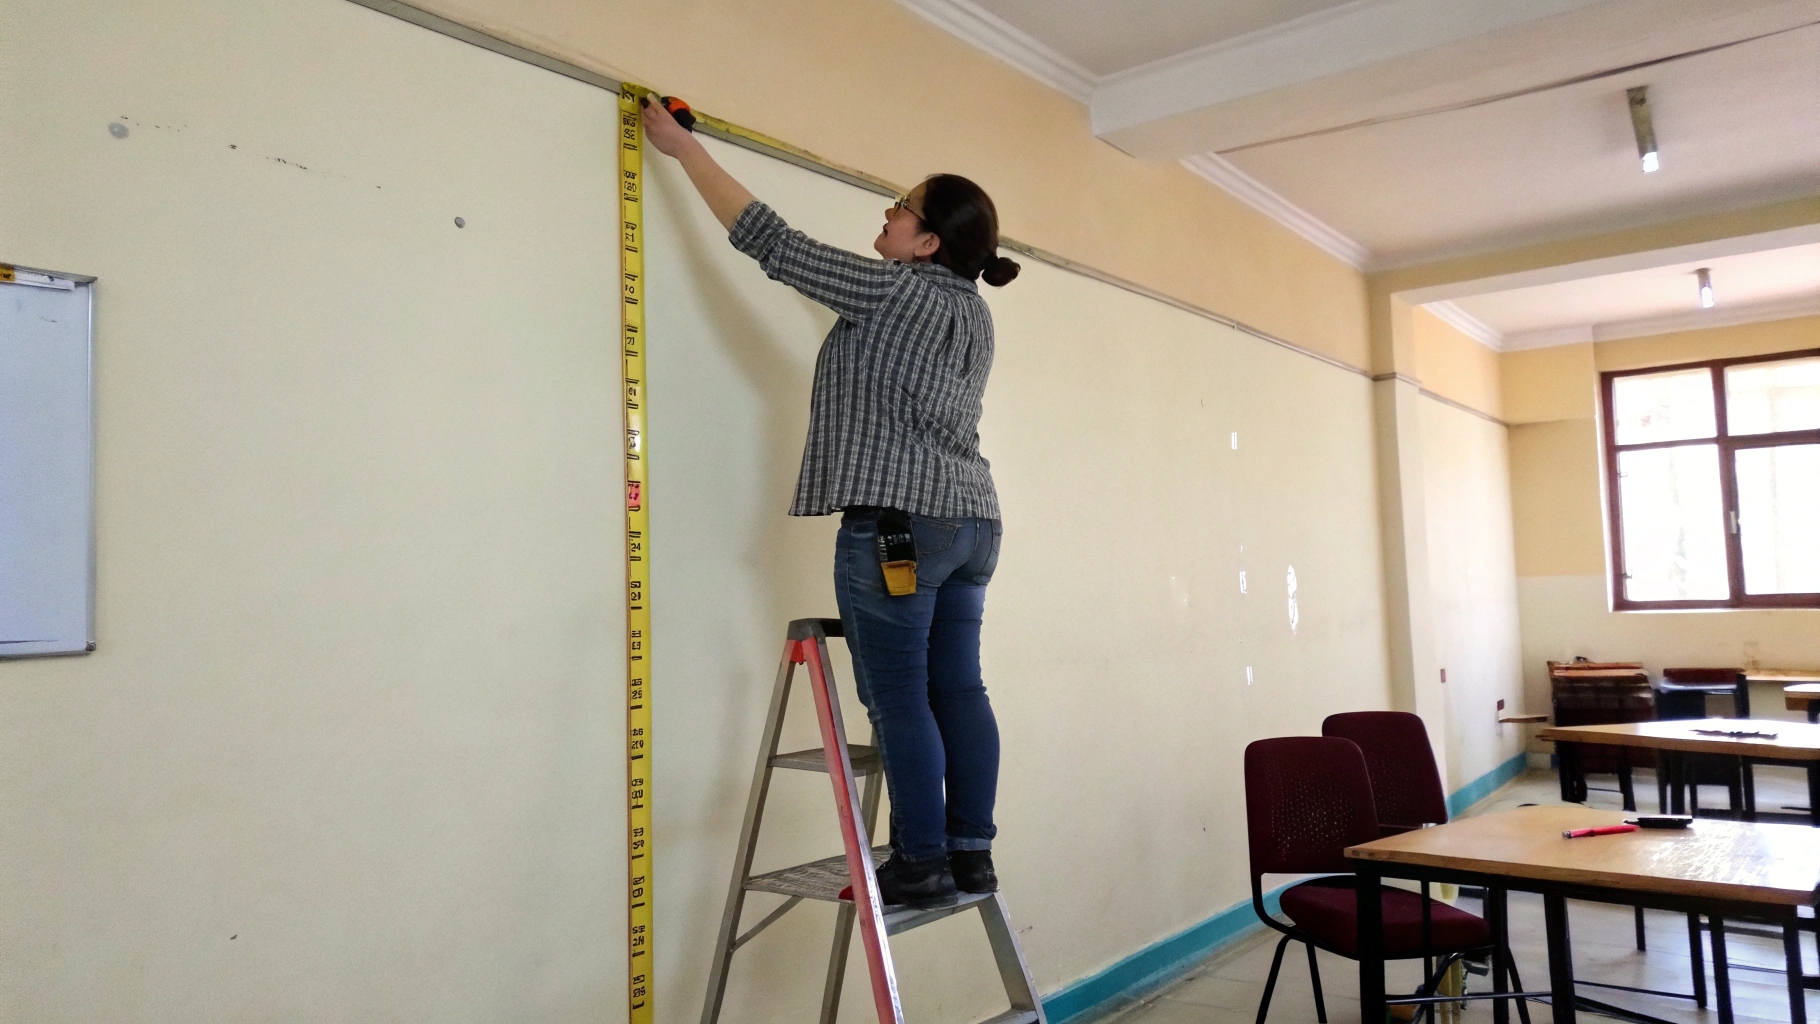
Step 1: Site Preparation and Surface Assessment
Measure your space accurately and identify your surface type to determine the correct installation method. Mark your installation boundaries with chalk line, checking for electrical outlets, switches, or access points that need to remain clear. For rental properties, consider damage-free mounting options. Keep installations away from heat sources like grills or fire pits.
Step 2: Choose Your Surface-Specific Installation Method
The key to professional installation is using the right technique for your specific surface type. Each surface requires different tools and approaches for optimal results:
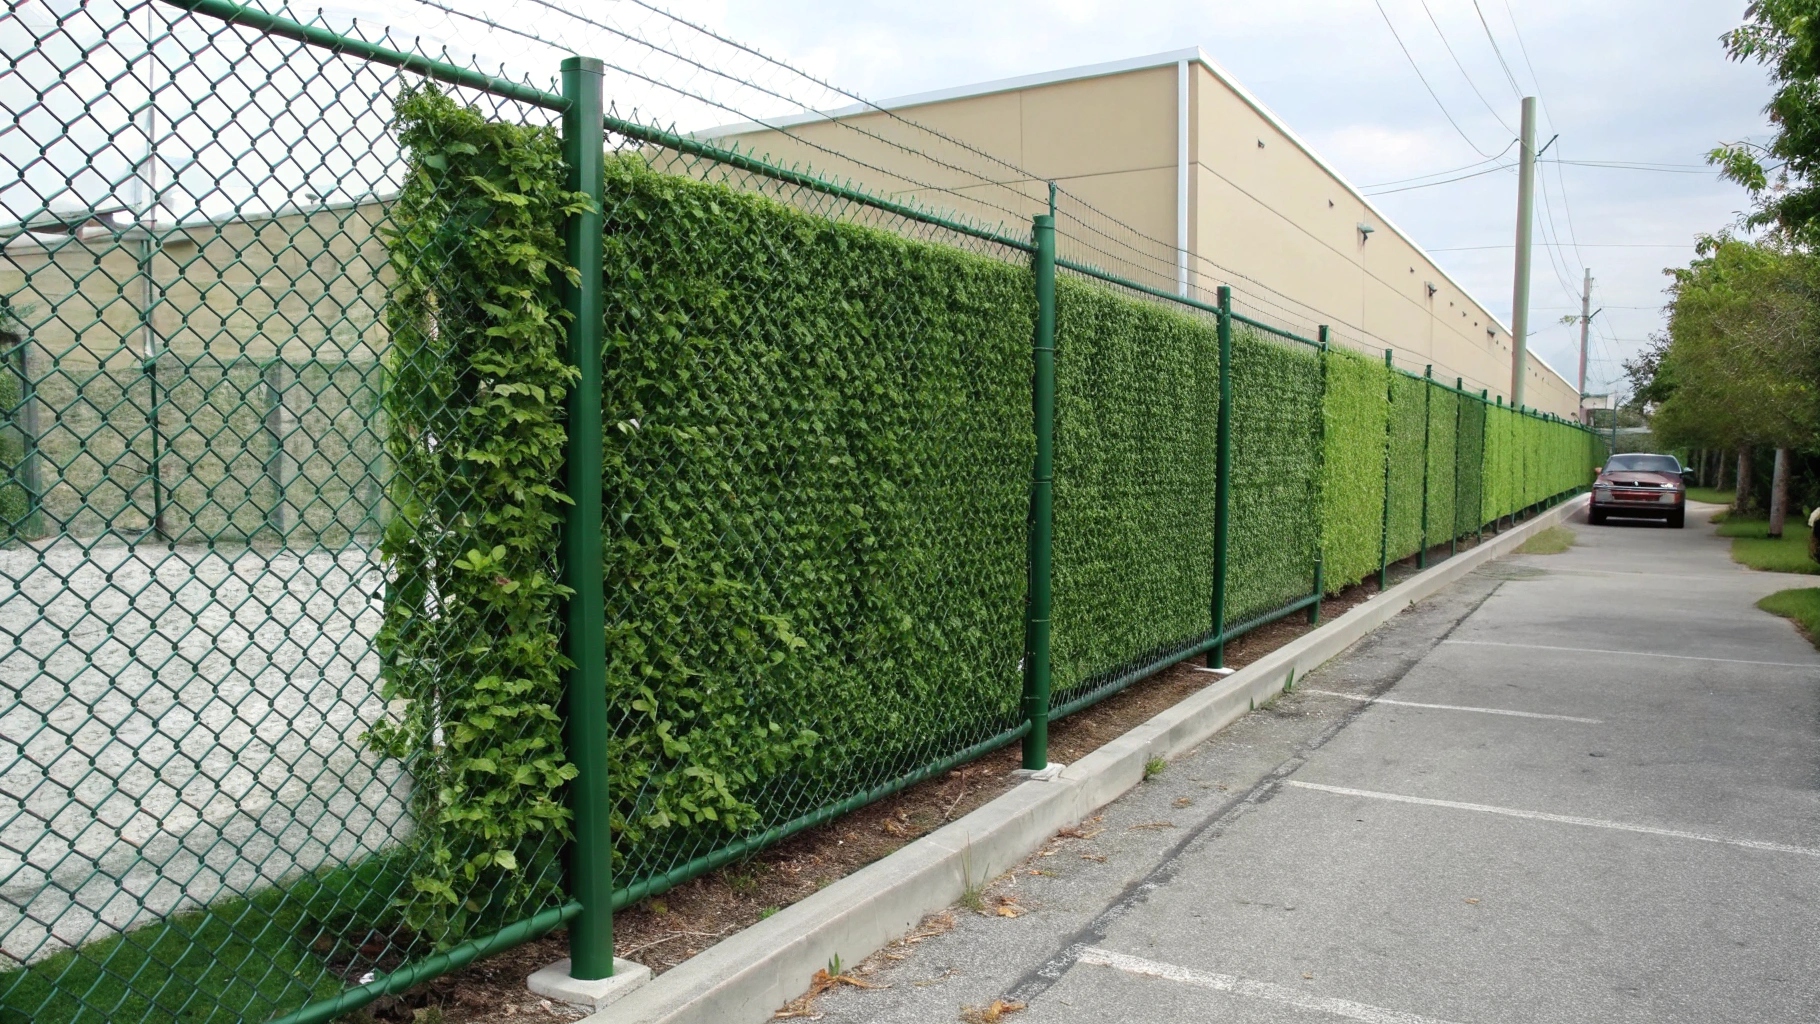
For Chain Link and Wire Fencing (Easiest Method)
Tools needed: Heavy-duty zip ties and scissors
- Pre-connect panels: Use the snap-lock system to join panels to your desired size before mounting
- Position and align: Hold the connected panel section against the fence, ensuring straight alignment
- Secure with zip ties: Thread zip ties through the panel backing and fence every 8-12 inches
- Trim excess: Cut off extra zip tie length with scissors for a clean finish
For Wood Fencing and Timber Walls (Most Common)
Tools needed: Staple gun and heavy-duty staples
- Connect panels first: Join all panels using the snap-lock system before mounting
- Position the panel section: Hold against the wood surface, ensuring level alignment
- Staple through backing mesh: Secure every 10-12 inches along all edges, gripping the mesh firmly to the wood
- Check stability: Ensure all staples are flush and panels are firmly attached
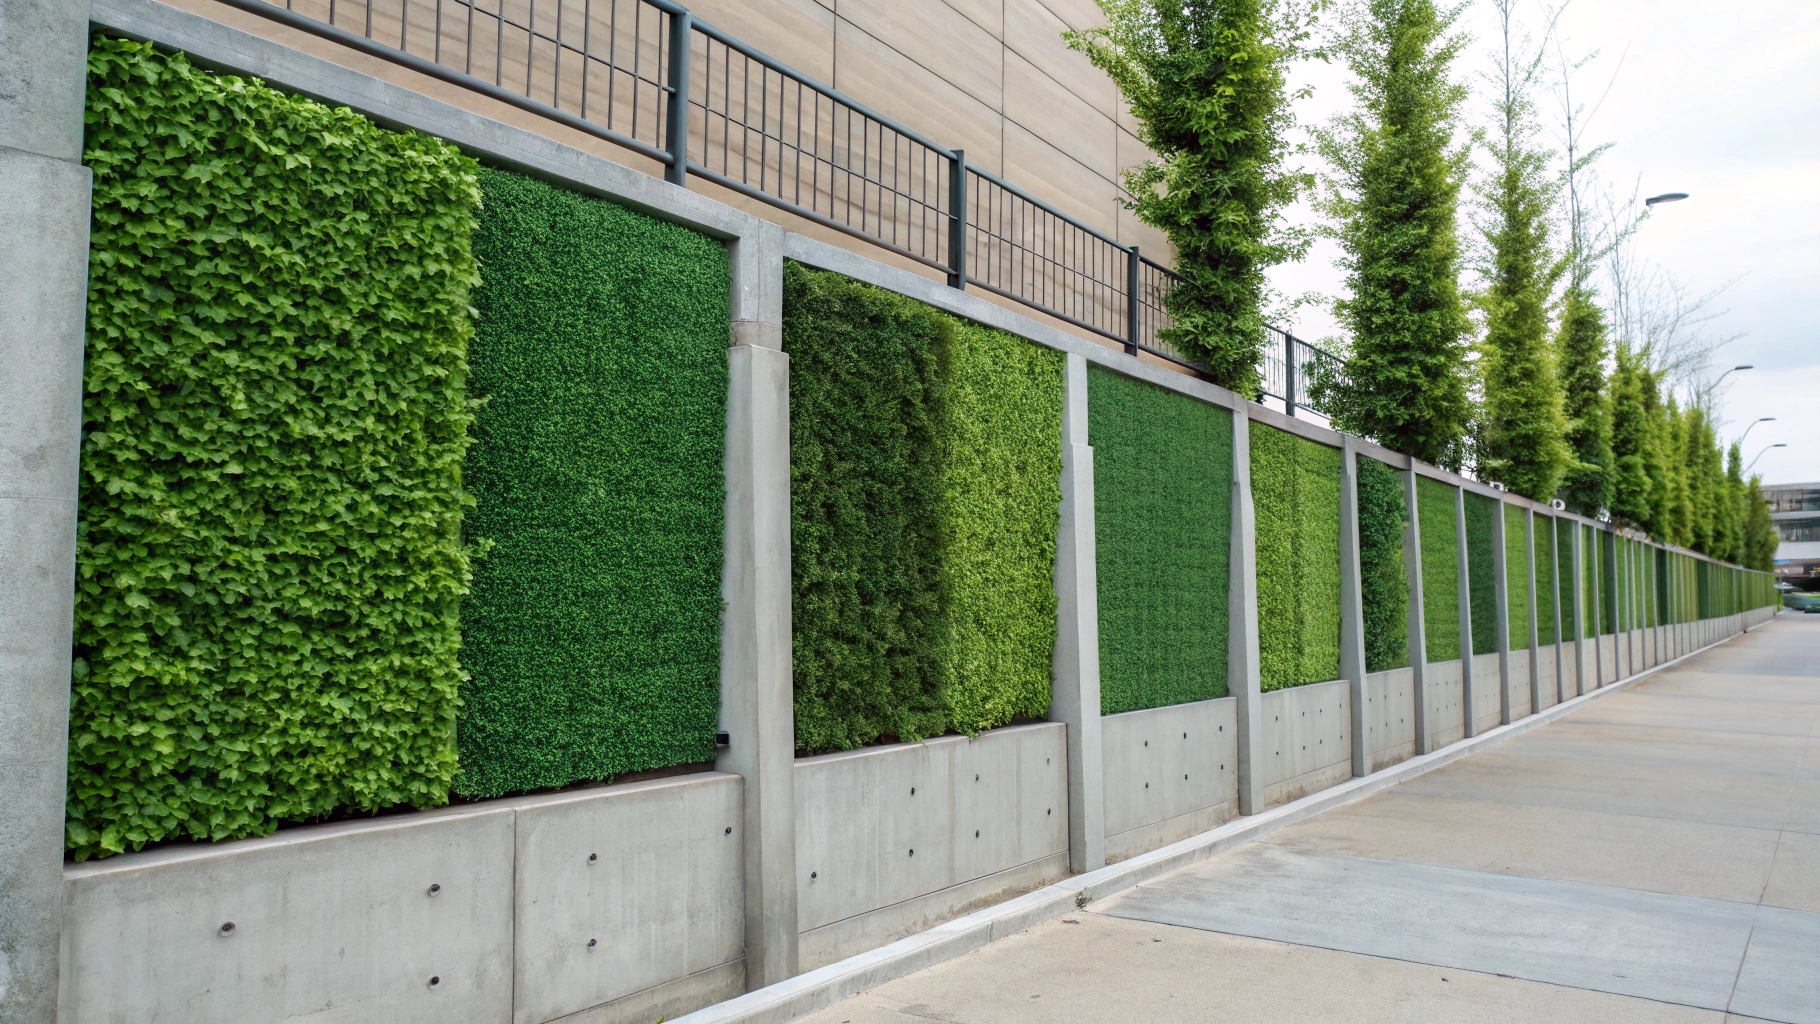
For Brick, Concrete, and Stone Walls (Most Secure):
Tools needed: Steel wire grid, drill, wall plugs, screws, zip ties, scissors
- Install support grid first: Measure and mark mounting points for steel wire mesh every 24 inches
- Drill and secure mesh: Use appropriate masonry anchors to attach wire grid to wall
- Prepare panels: Connect panels using snap-lock system to fit your grid sections
- Attach to grid: Secure panels to wire mesh using zip ties every 6-8 inches
- Trim and finish: Cut excess zip ties and adjust panel positioning for seamless coverage
Step 3: Final Positioning and Adjustment
Once all panels are secured, step back and check for gaps, uneven areas, or loose sections. Make any necessary adjustments by repositioning panels or adding additional fasteners. For the final panel, measure carefully and cut along the backing mesh with sharp scissors if needed to achieve perfect fit.
Step 4: Fluff and Finish
Gently arrange and fluff the foliage to eliminate any compressed areas from packaging and create a natural, full appearance. This final step dramatically improves the overall look and helps panels settle into their permanent position.
Tips to Choose Suitable Artificial Green Wall Panels
Quality artificial hedge panels are the foundation of a successful installation – choose panels with 100% virgin materials and proper certifications for maximum durability. Look for REACH, RoHS, and PAHs compliance for safety, fire retardant certification for peace of mind, and UV resistance testing that guarantees sun exposure protection.
Focus on realistic appearance and practical installation features when comparing options. Quality panels feature multi-layered foliage density that eliminates see-through gaps, easy-snap connection systems for seamless joining, and flexible backing materials that move naturally without cracking.
Maintaining Artificial Green Walls: Simple Care for Maximum Lifespan
Keep your artificial hedges looking perfect for 10+ years with just minimal maintenance. You can rinse panels monthly with a gentle garden hose spray – never use pressure washers that damage foliage. Actually, rain can do most of the cleaning work outdoors. And check fasteners once yearly to ensure everything stays secure. With this minimal care routine, your panels will maintain their vibrant appearance far longer than live hedging – without the constant watering, pruning, and fertilizing that real plants demand.
2025 Trends in Artificial Green Wall Design
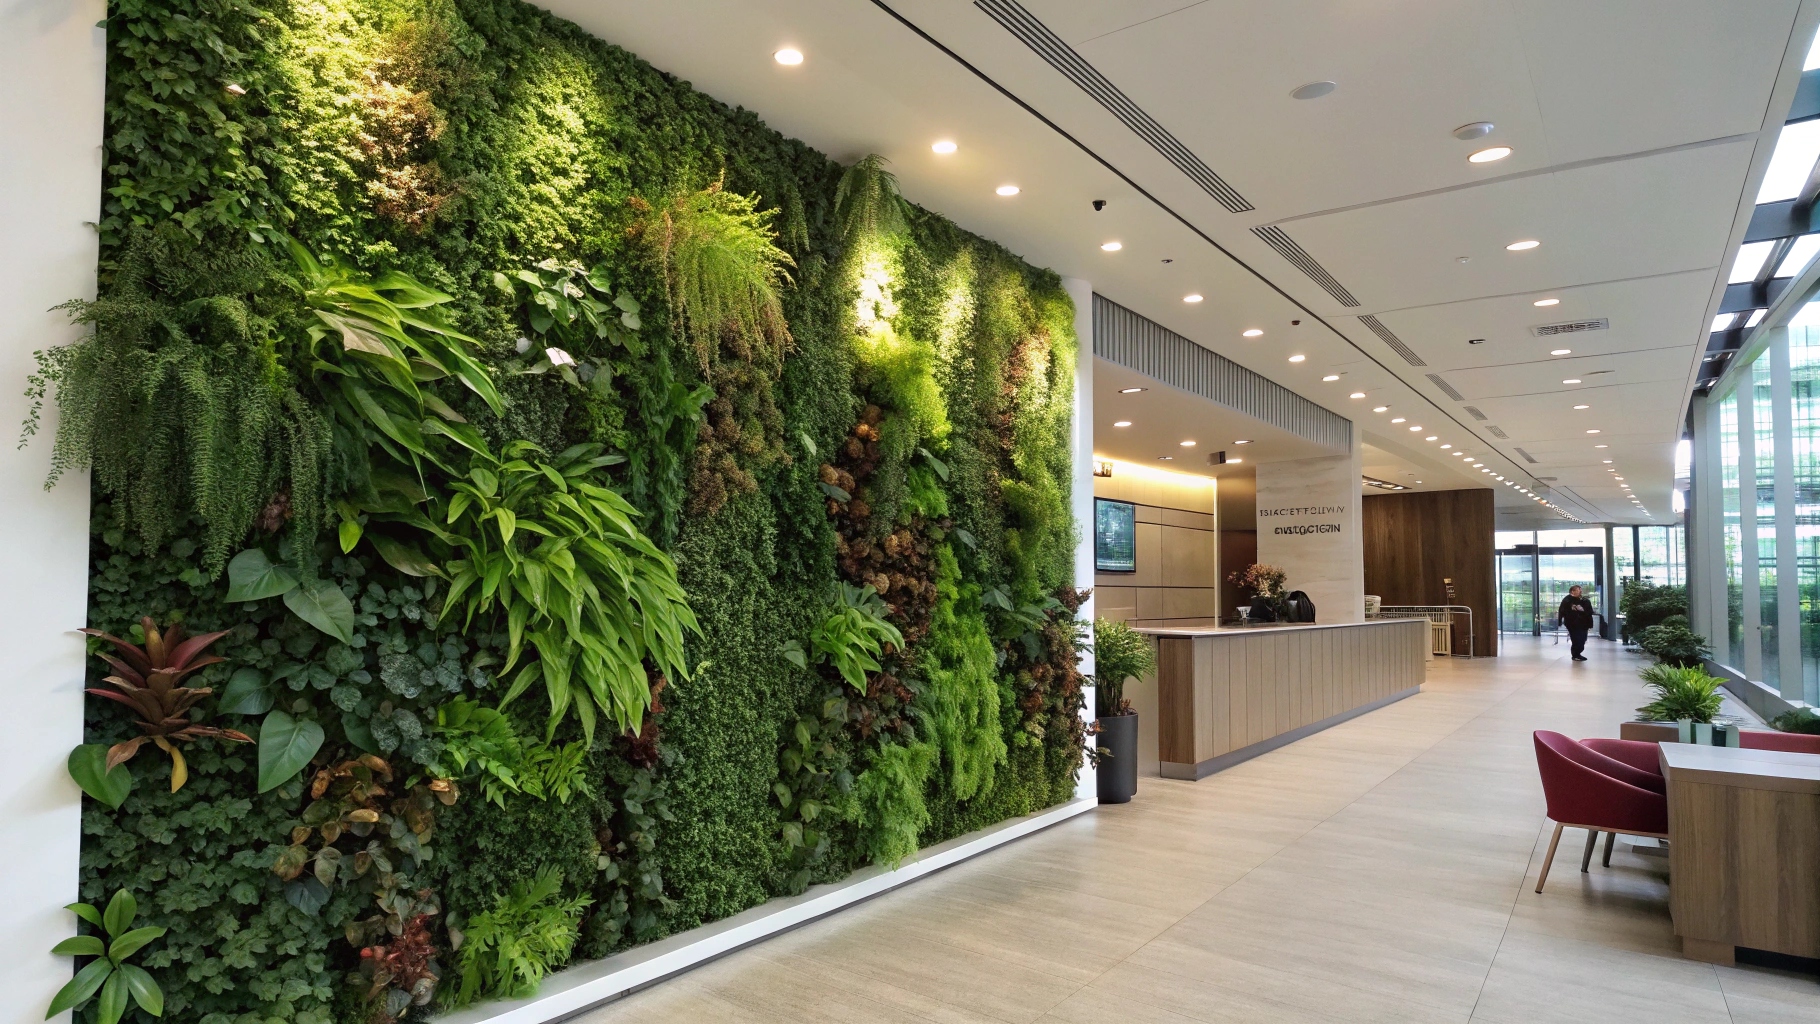
As we move through 2025, the way we use artificial hedges and green wall is evolving. The focus is shifting towards more dynamic and integrated designs that blur the line between artificial and real. The latest trend involves creating “living art” pieces by mixing different textures and leaf types, such as combining broad-leaf panels with fern-like accents to add depth and realism.
Consumer demand is increasingly leaning towards customizable and mixed-foliage walls. Homeowners and designers are moving away from monolithic, single-plant walls and are instead using panels as a base to create unique, multi-dimensional green installations that reflect personal style.
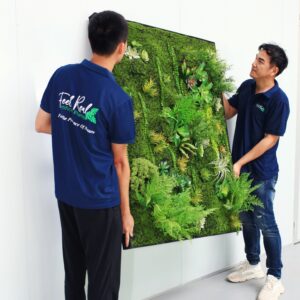
About FeelReal Artificial Plants
At FeelReal, we specialize in crafting hyper-realistic artificial plants and green walls that stand the test of time. Our products are made with UV-stabilized, commercial-grade materials. We obsess over the details—from subtle color variations to natural leaf textures. Contact our design experts today to get personalized advice for your project.